Detail form templates
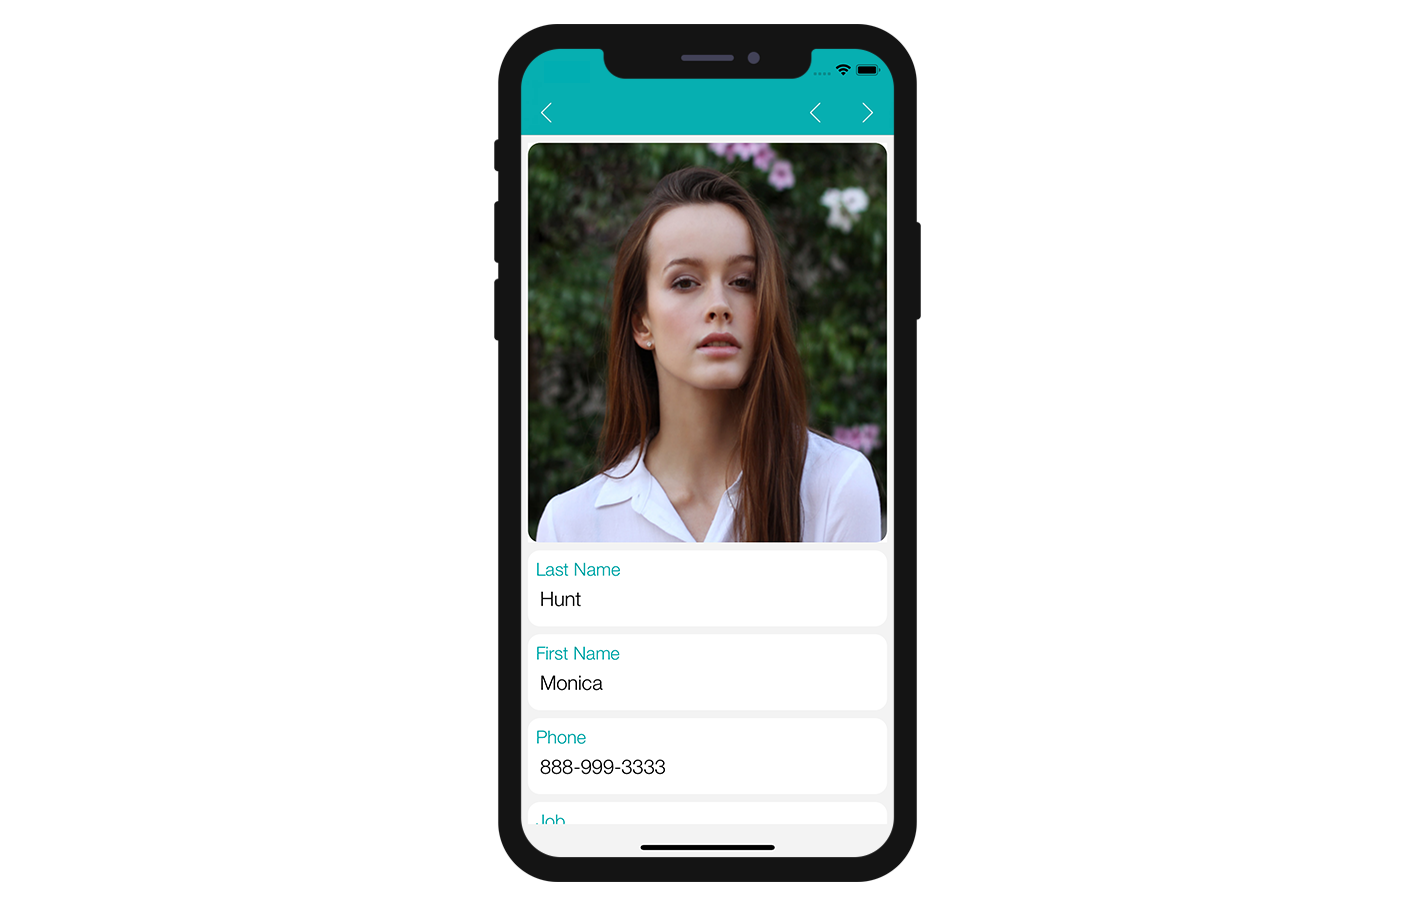
In this tutorial, we'll guide you through the creation of a detail form template. It will display an image header, as well as title and content fields that will be duplicated in the generated iOS and Android Apps.
Download the Starter project
To begin, download the Starter project, which includes:
- A Custom Detail form folder (custom Detail form template folder)
- A demo 4D project ("Contact") with a ready to use mobile app project.
Add a detail form template to your mobile project
First, create a Contact.4dbase/Resources/Mobile/form/detail folder and drag and drop the Custom Detail form folder in it.

Now, launch your 4D application and open the "Contact" 4D project. Then, select the "Contact Demo App" mobile project: File > Open > Mobile Project > Contact Demo App.
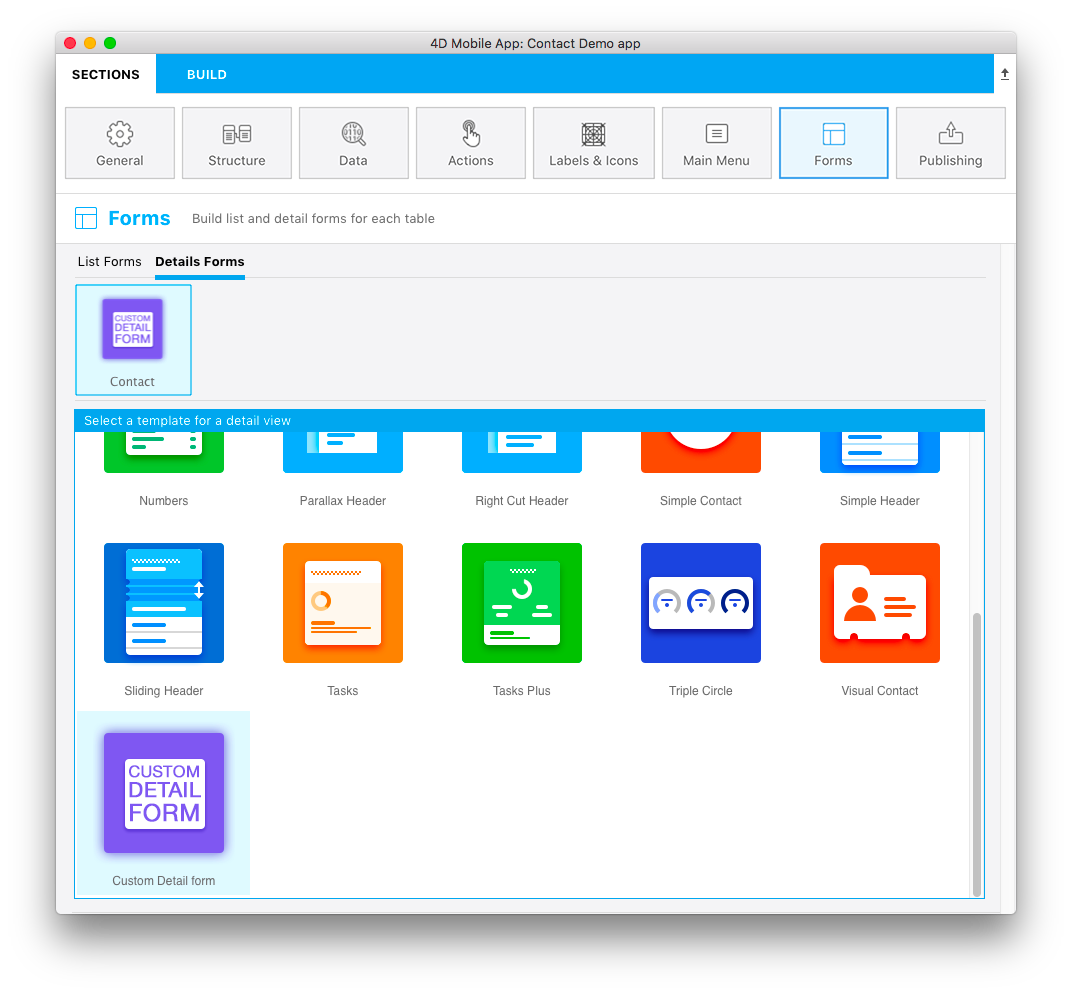
In the Forms section in the project editor, you can see that the Custom Detail form template has been successfully added to the Detail form template list:
Now let's focus on the Custom Detail form folder content.
Detail form template folder content
In this folder, you will find:
- a layoutIconx2.png icon in 160x160px: displayed in the project editor when you select your custom template among others
- a manifest.json file: includes a basic description of the template
- a template.svg file: the representation of your template that will be display when you define your detailForm content and where you will drag and drop your fields
- an ios folder that includes the storyboard (graphical interface) and Swift file (code for the form) in
Source > Forms > Tables 'TABLE'folder - an android folder that includes the layout.xml file (graphical interface) in
app > src > main > res > layoutfolder.
These files and folders are detailed in the next sections.