Create a static formatter
OBJECTIVES
Create your first formatters.
In this tutorial, we'll guide you through the creation of various formatter examples.
Download the Starter project
To begin, download the Starter project, which includes:
- integerToImage_Images and textToImage_Images folders that contain images (to use later for formatters that include images)
- A Task Management.4dbase file (with a ready to use mobile app project)
You're now ready to create your first formatters!
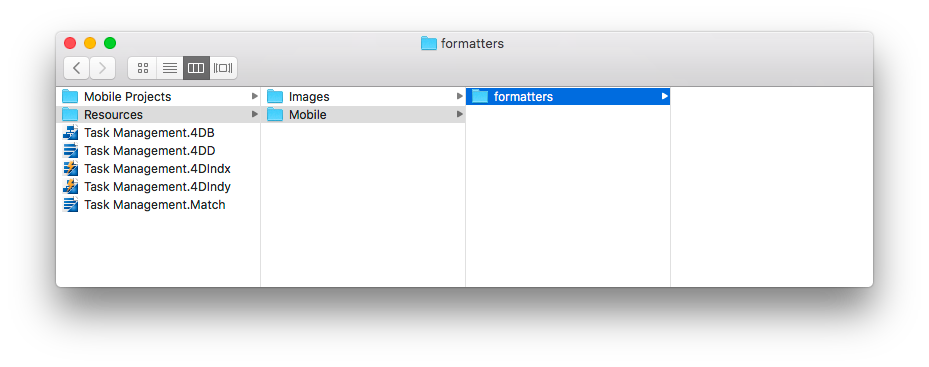
Create the formatters folder
First, create a Task Management.4dbase/Resources/Mobile/formatters folder.
Integer formatters
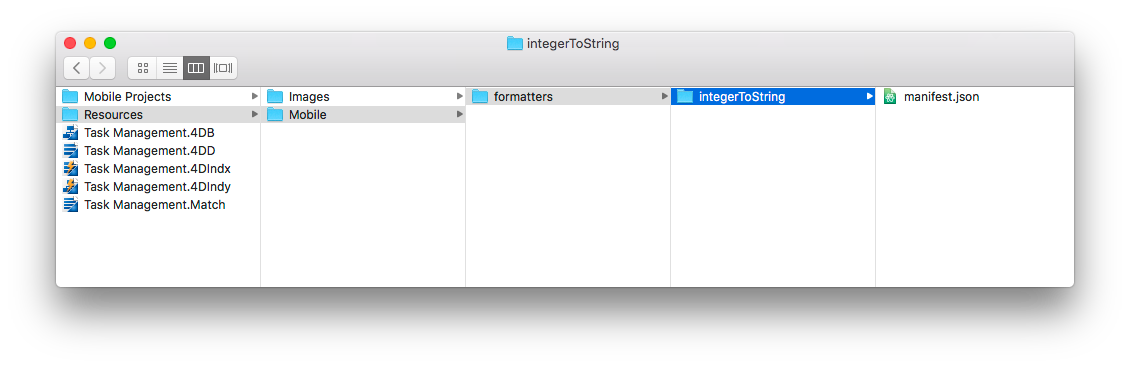
Integer to string
- Create an integerToString folder in the formatters folder you've just created.
- Then create a manifest.json file in the integerToString folder.
Let's look at the contents of the manifest.json file:
{
   "name": "integerToString",

   "type": ["integer"],

   "binding": "localizedText",

   "choiceList": {"0":"UX designer","1":"Developer","2":"QA","3":"Product Owner"}
}
- name: the name of the formatter
- type: the 4D format type you want to use
- binding: can be localized text for strings or imageNamed for images
- choiceList: mapped values
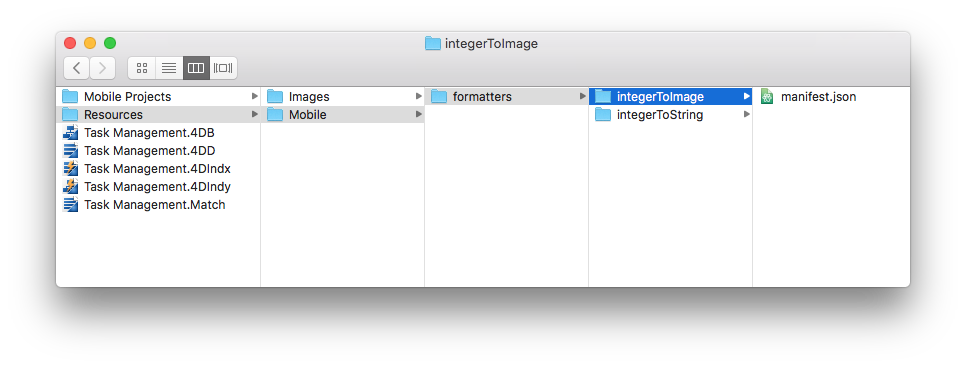
Integer to image
Create an integerToImage folder in the formatters folder you've created.
Create a manifest.json file in the integerToImage folder.
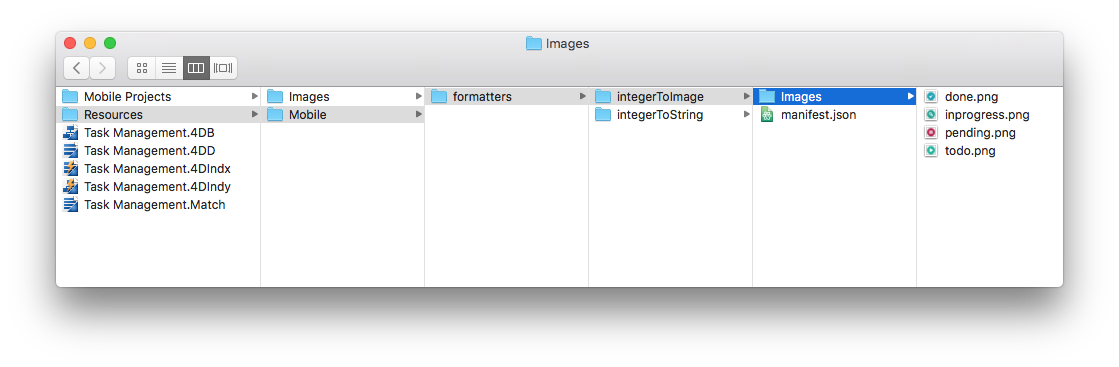
- Then create an Images folder in the integerToImage folder. You can add the images from the integerToImage_Images in the StarterProject.zip to this new folder.
Let's look at the contents of the manifest.json file:
{
   "name": "integerToImage",

   "type": ["integer"],

   "binding": "imageNamed",

   "choiceList": {"0":"todo.png","1":"inprogress.png","2":"pending.png","3":"done.png"},

   "assets": {
      "size": {
         "width": 40, "height": 40
      }
   }
}
- name: the name of the formatter
- type : the 4D format type you want to use
- binding: can be localized text for strings or imageNamed for images
- choiceList: mapped values
- assets: adjust the display size (width and height)
Text formatters
Text to string
Create a textToString folder in the formatters folder you've just created.
Create a manifest.json file in the textToString folder.
Let's look at the contents of the manifest.json file:
{
   "name": "textToString",

   "type": ["text"],

   "binding": "localizedText",

   "choiceList": {"FRA":"France","MAR":"Morocco","USA":"United States","AUS":"Australia"}
}
- name: the name of the formatter
- type: the 4D format type you want to use
- binding: can be localized text for strings or imageNamed for images
- choiceList: mapped values
Text to image
Create a textToImage folder in the formatters folder you've just created.
Create a manifest.json file in the textToImage folder.
- Then create an Images folder in the textToImage folder. You can add the images from the textToImage_Images in the StarterProject.zip to this new folder.
Let's look at the contents of the manifest.json file:
{
   "name": "textToImage",

   "type": ["integer"],

   "binding": "imageNamed",

   "choiceList": ["image1.png","image2.png","image3.png"],

   "assets": {
  "size": {
   "width": 40, "height": 40
      }
   }
}
Dark mode support
Whether your device is in dark or light mode, whether you're working on iOS or Android, you can easily use the custom formatters containing images. The pictures will be adapted depending on the phone's color mode.
Tintable color
To optimize the color contrast of your black and white images on your app depending on the color mode (light or dark), you can set the images as follows, with the "tintable": true code line:
{
   "name": "textToImage",
   "type": ["text"],
   "binding": "imageNamed",
   "choiceList": {"car":"car.png","plane":"plane.png","bus":"bus.png"},
   "assets": {
     "size": 54,
     "tintable": true
     }
}
Here is the result in light and dark modes:
| Light mode | Dark mode |
|---|---|
 |  |
Optimized color pictures
To optimize the color pictures displayed on your app and adapt them to your color mode, you need to have two pictures: one for the light mode, and one for the dark mode suffixed with _dark, as follows:
{
   "name": "textToImage",
   "type": ["text"],
   "binding": "imageNamed",
   "choiceList": {"car":"car.png","plane":"plane.png","bus":"bus.png"},
   "assets": {
     "size": 54
   }
}
Here is the result in light mode and in dark mode:
| Light mode | Dark mode |
|---|---|
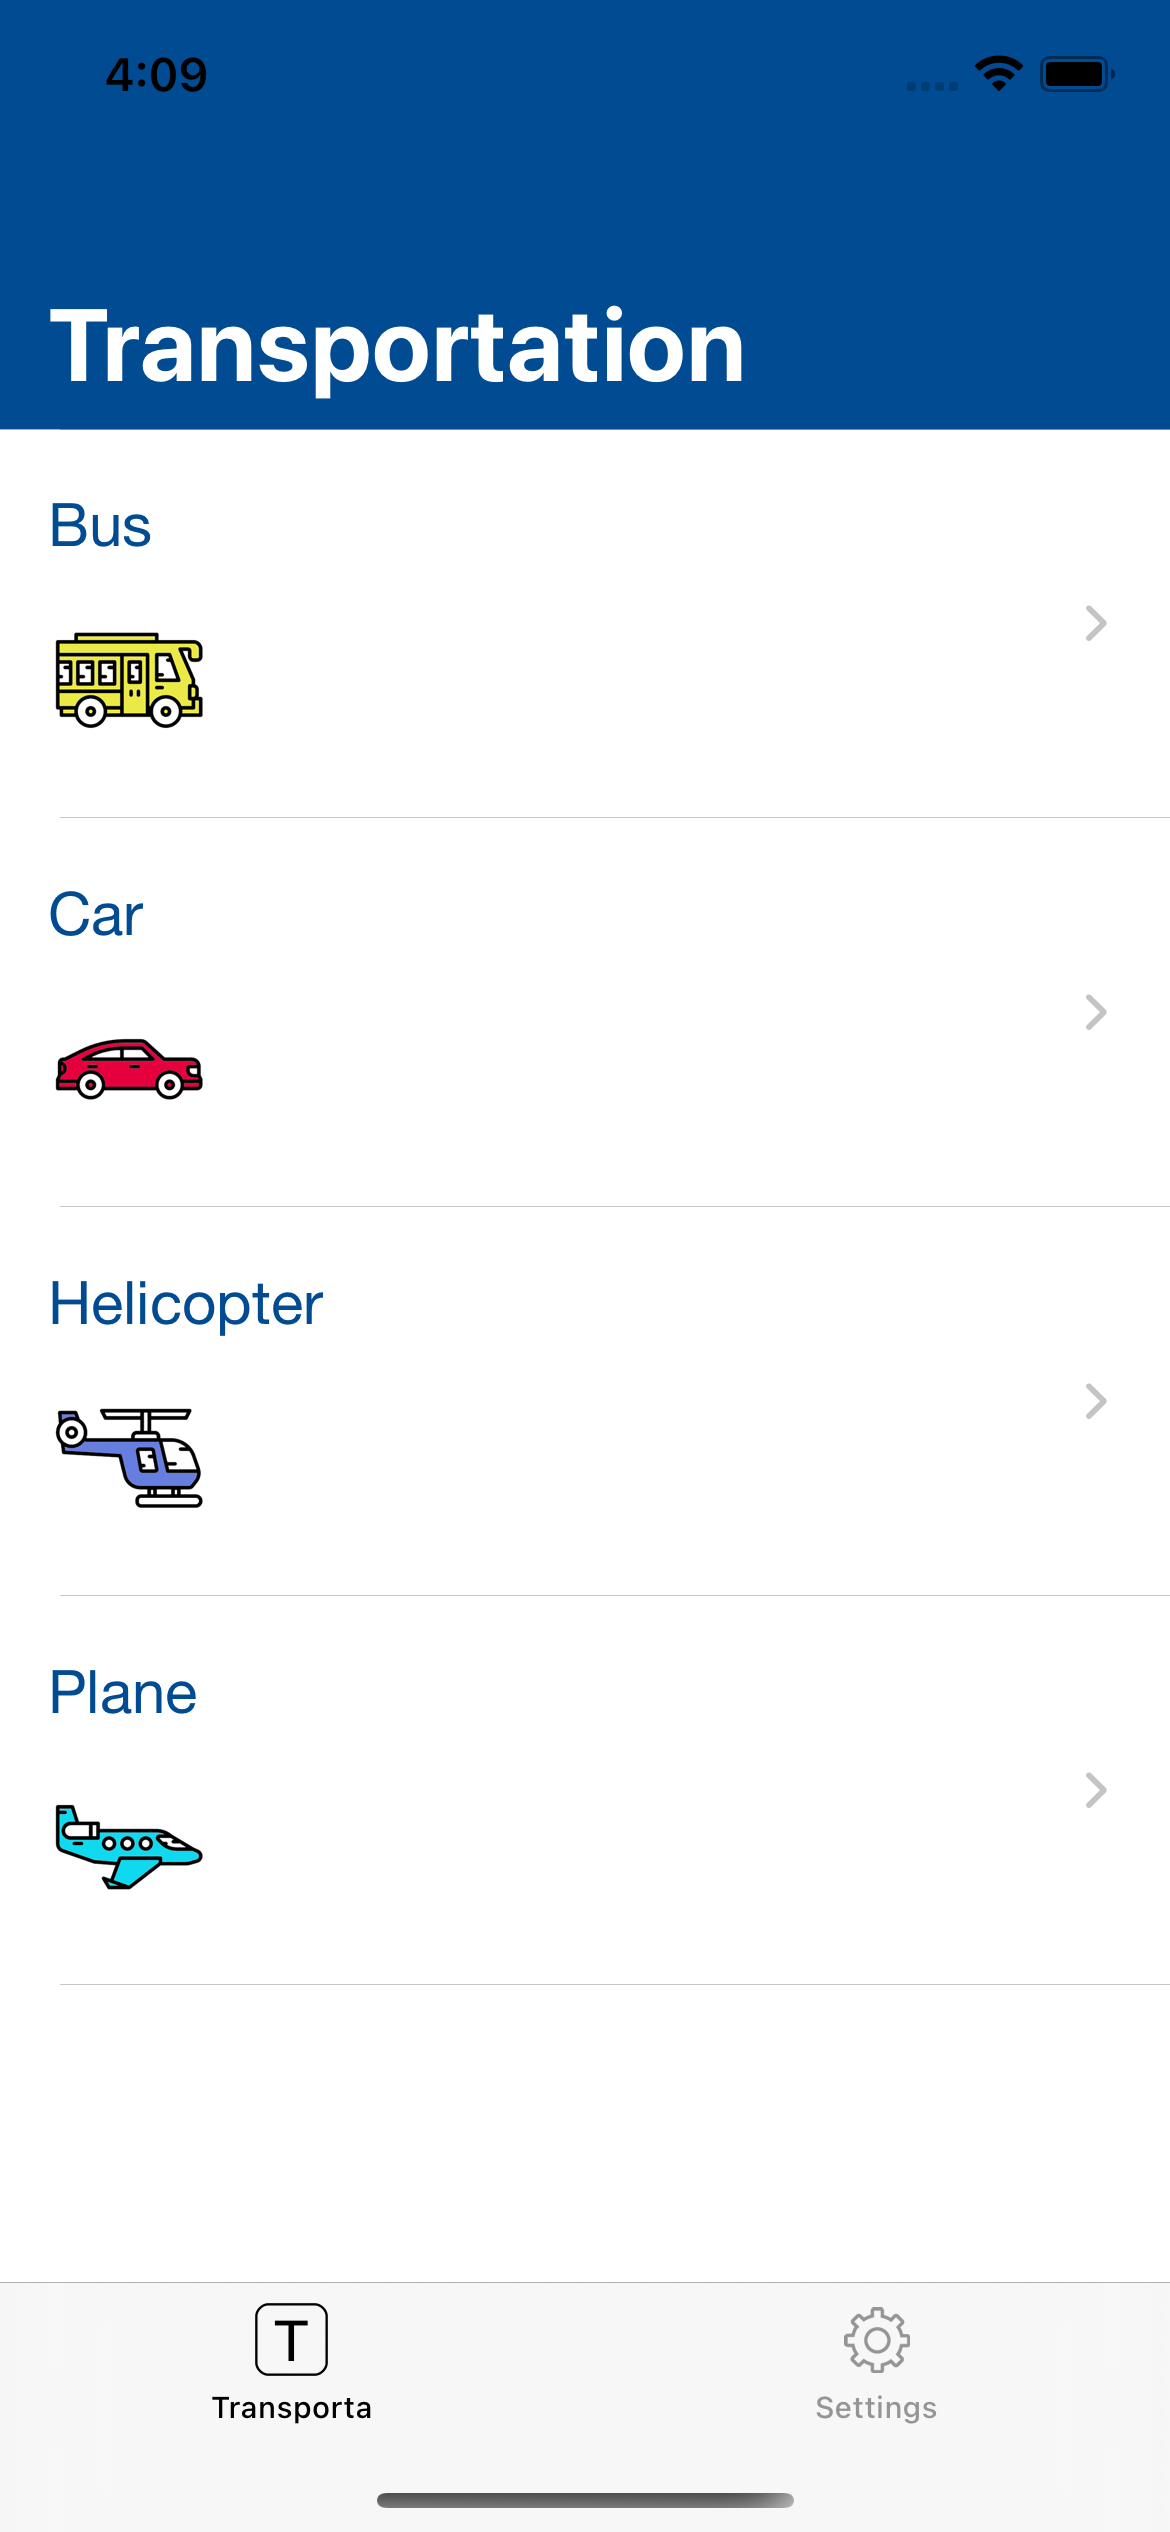 | 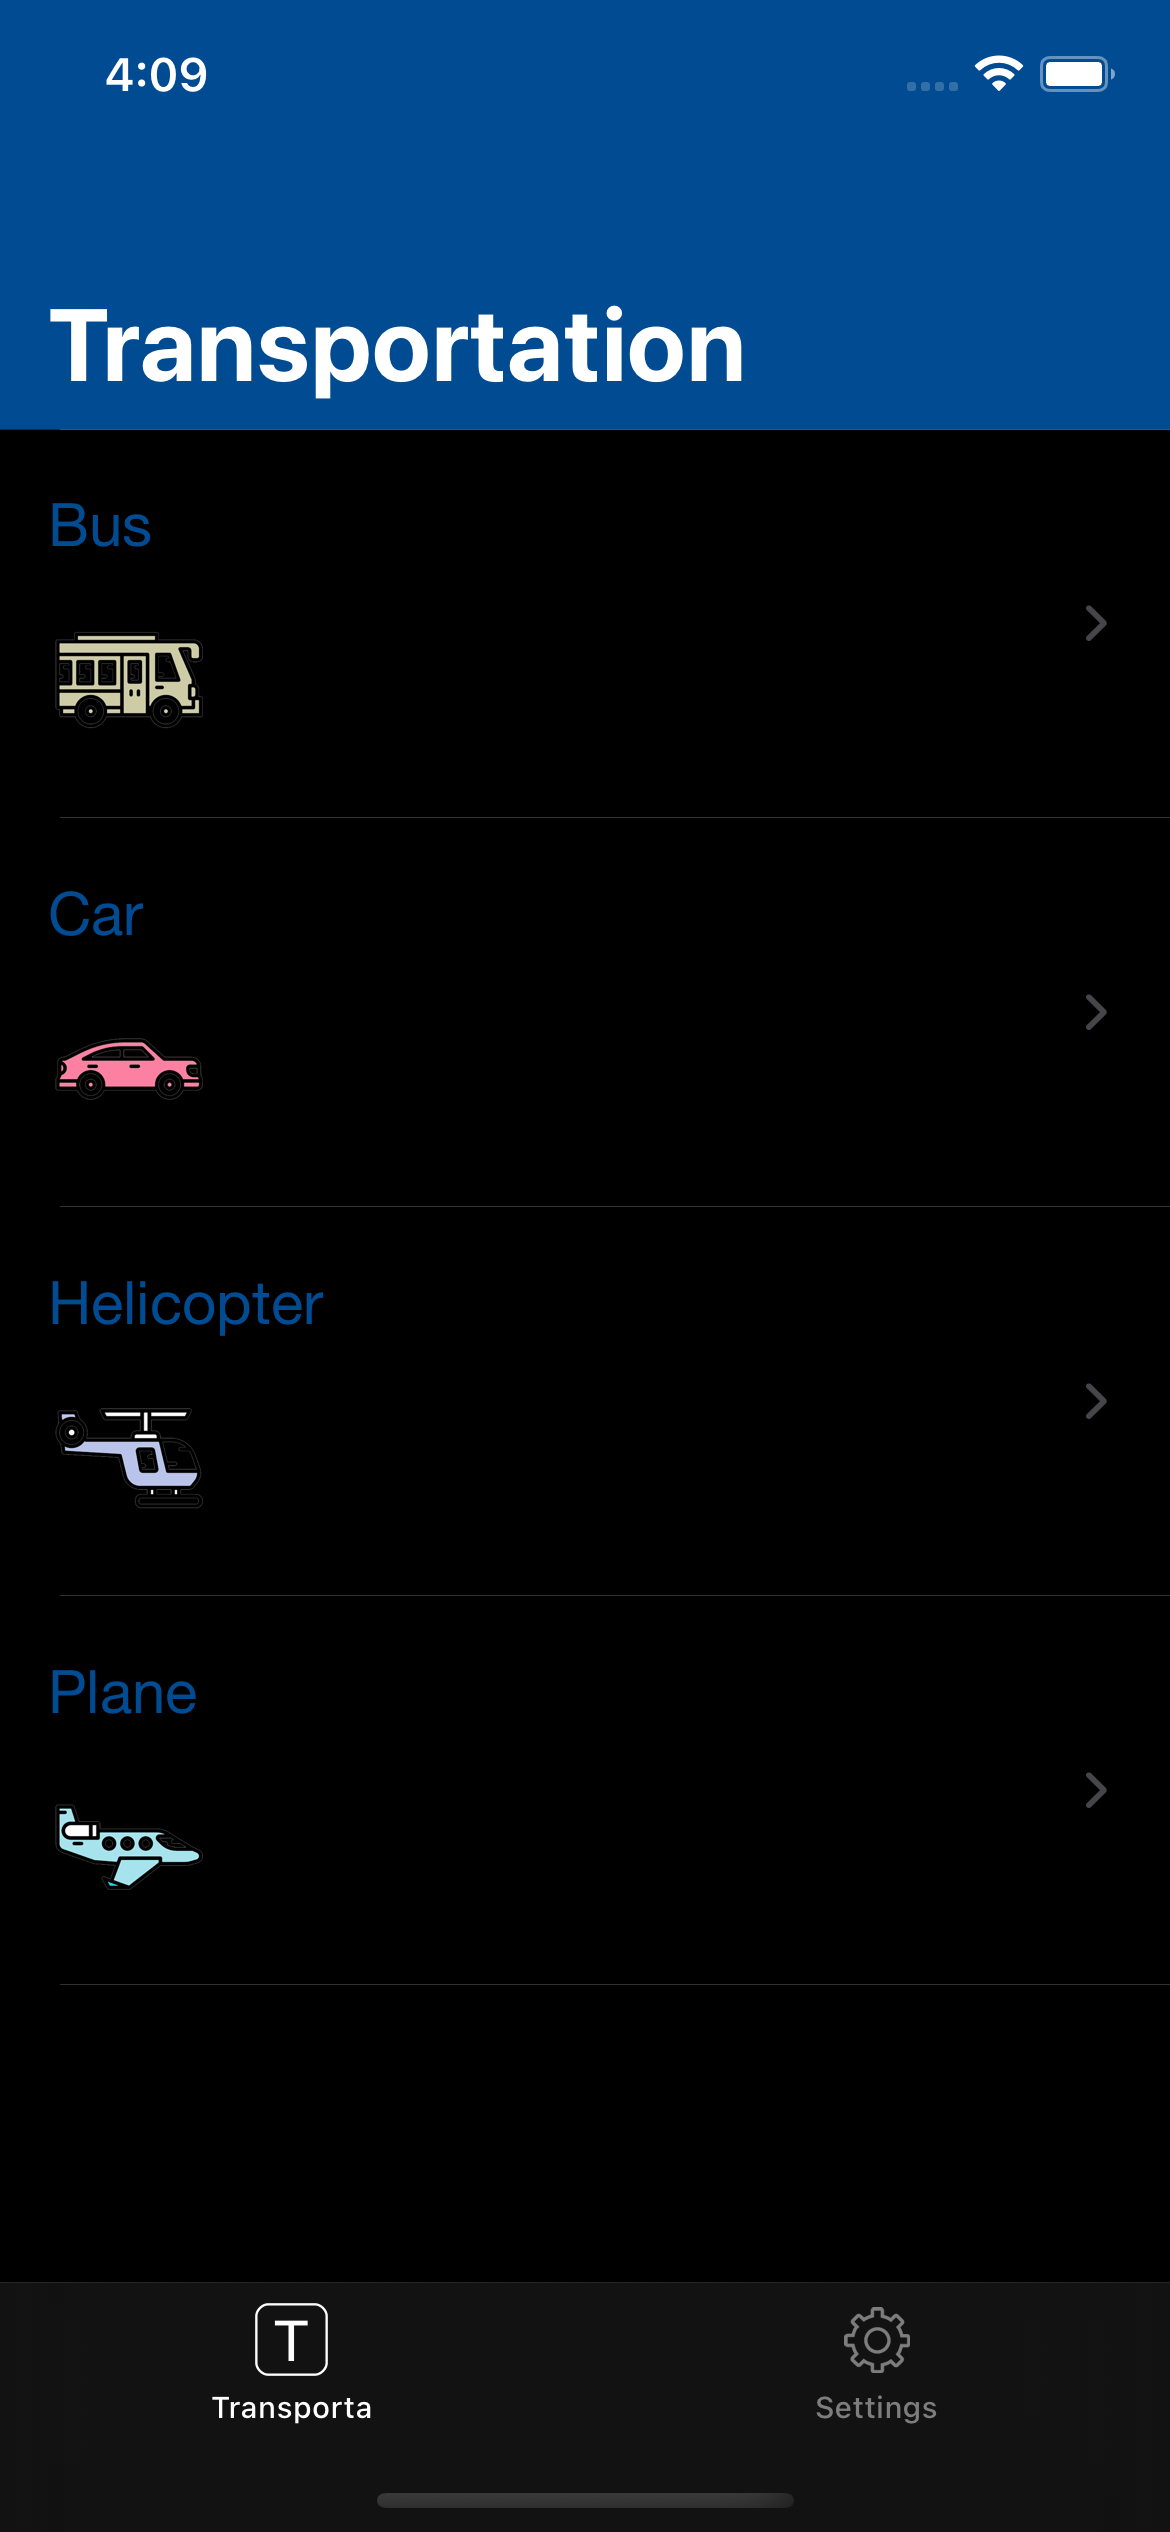 |
Open mobile project
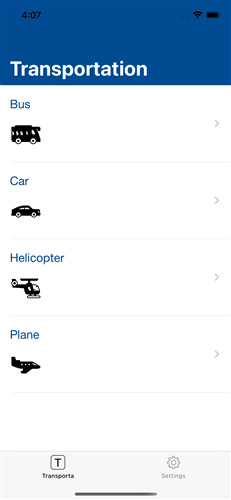
Open the Task Management.4dbase with 4D and go to File > Open > Mobile Project... to open the Tasks
Next, go to the Labels & Icons section in the project editor. All of your formatters are available for the different field types you previously defined in the different formatter manifest.json files:
- Select the integerToString formatter for the Job field
- Select the textToString formatter for the Country field
- Select the integerToImage formatter for the Task Status
- Select the textToImage formatter for the Manager
![]()
Build your 4D for iOS app
Build your 4D of iOS app and you'll see that your formatter is well applied depending on the credit limit.

Download the completed formatter template folder:
And you're done!