Datos
This page is used to configure the data that will be handled by your mobile app. It allows you to:
- select the source of data to include in your app (Current data file or Production server data file)
- define which set of data should be preloaded and when to regenerate it,
- filter data to include in your app depending on filter queries and user information.
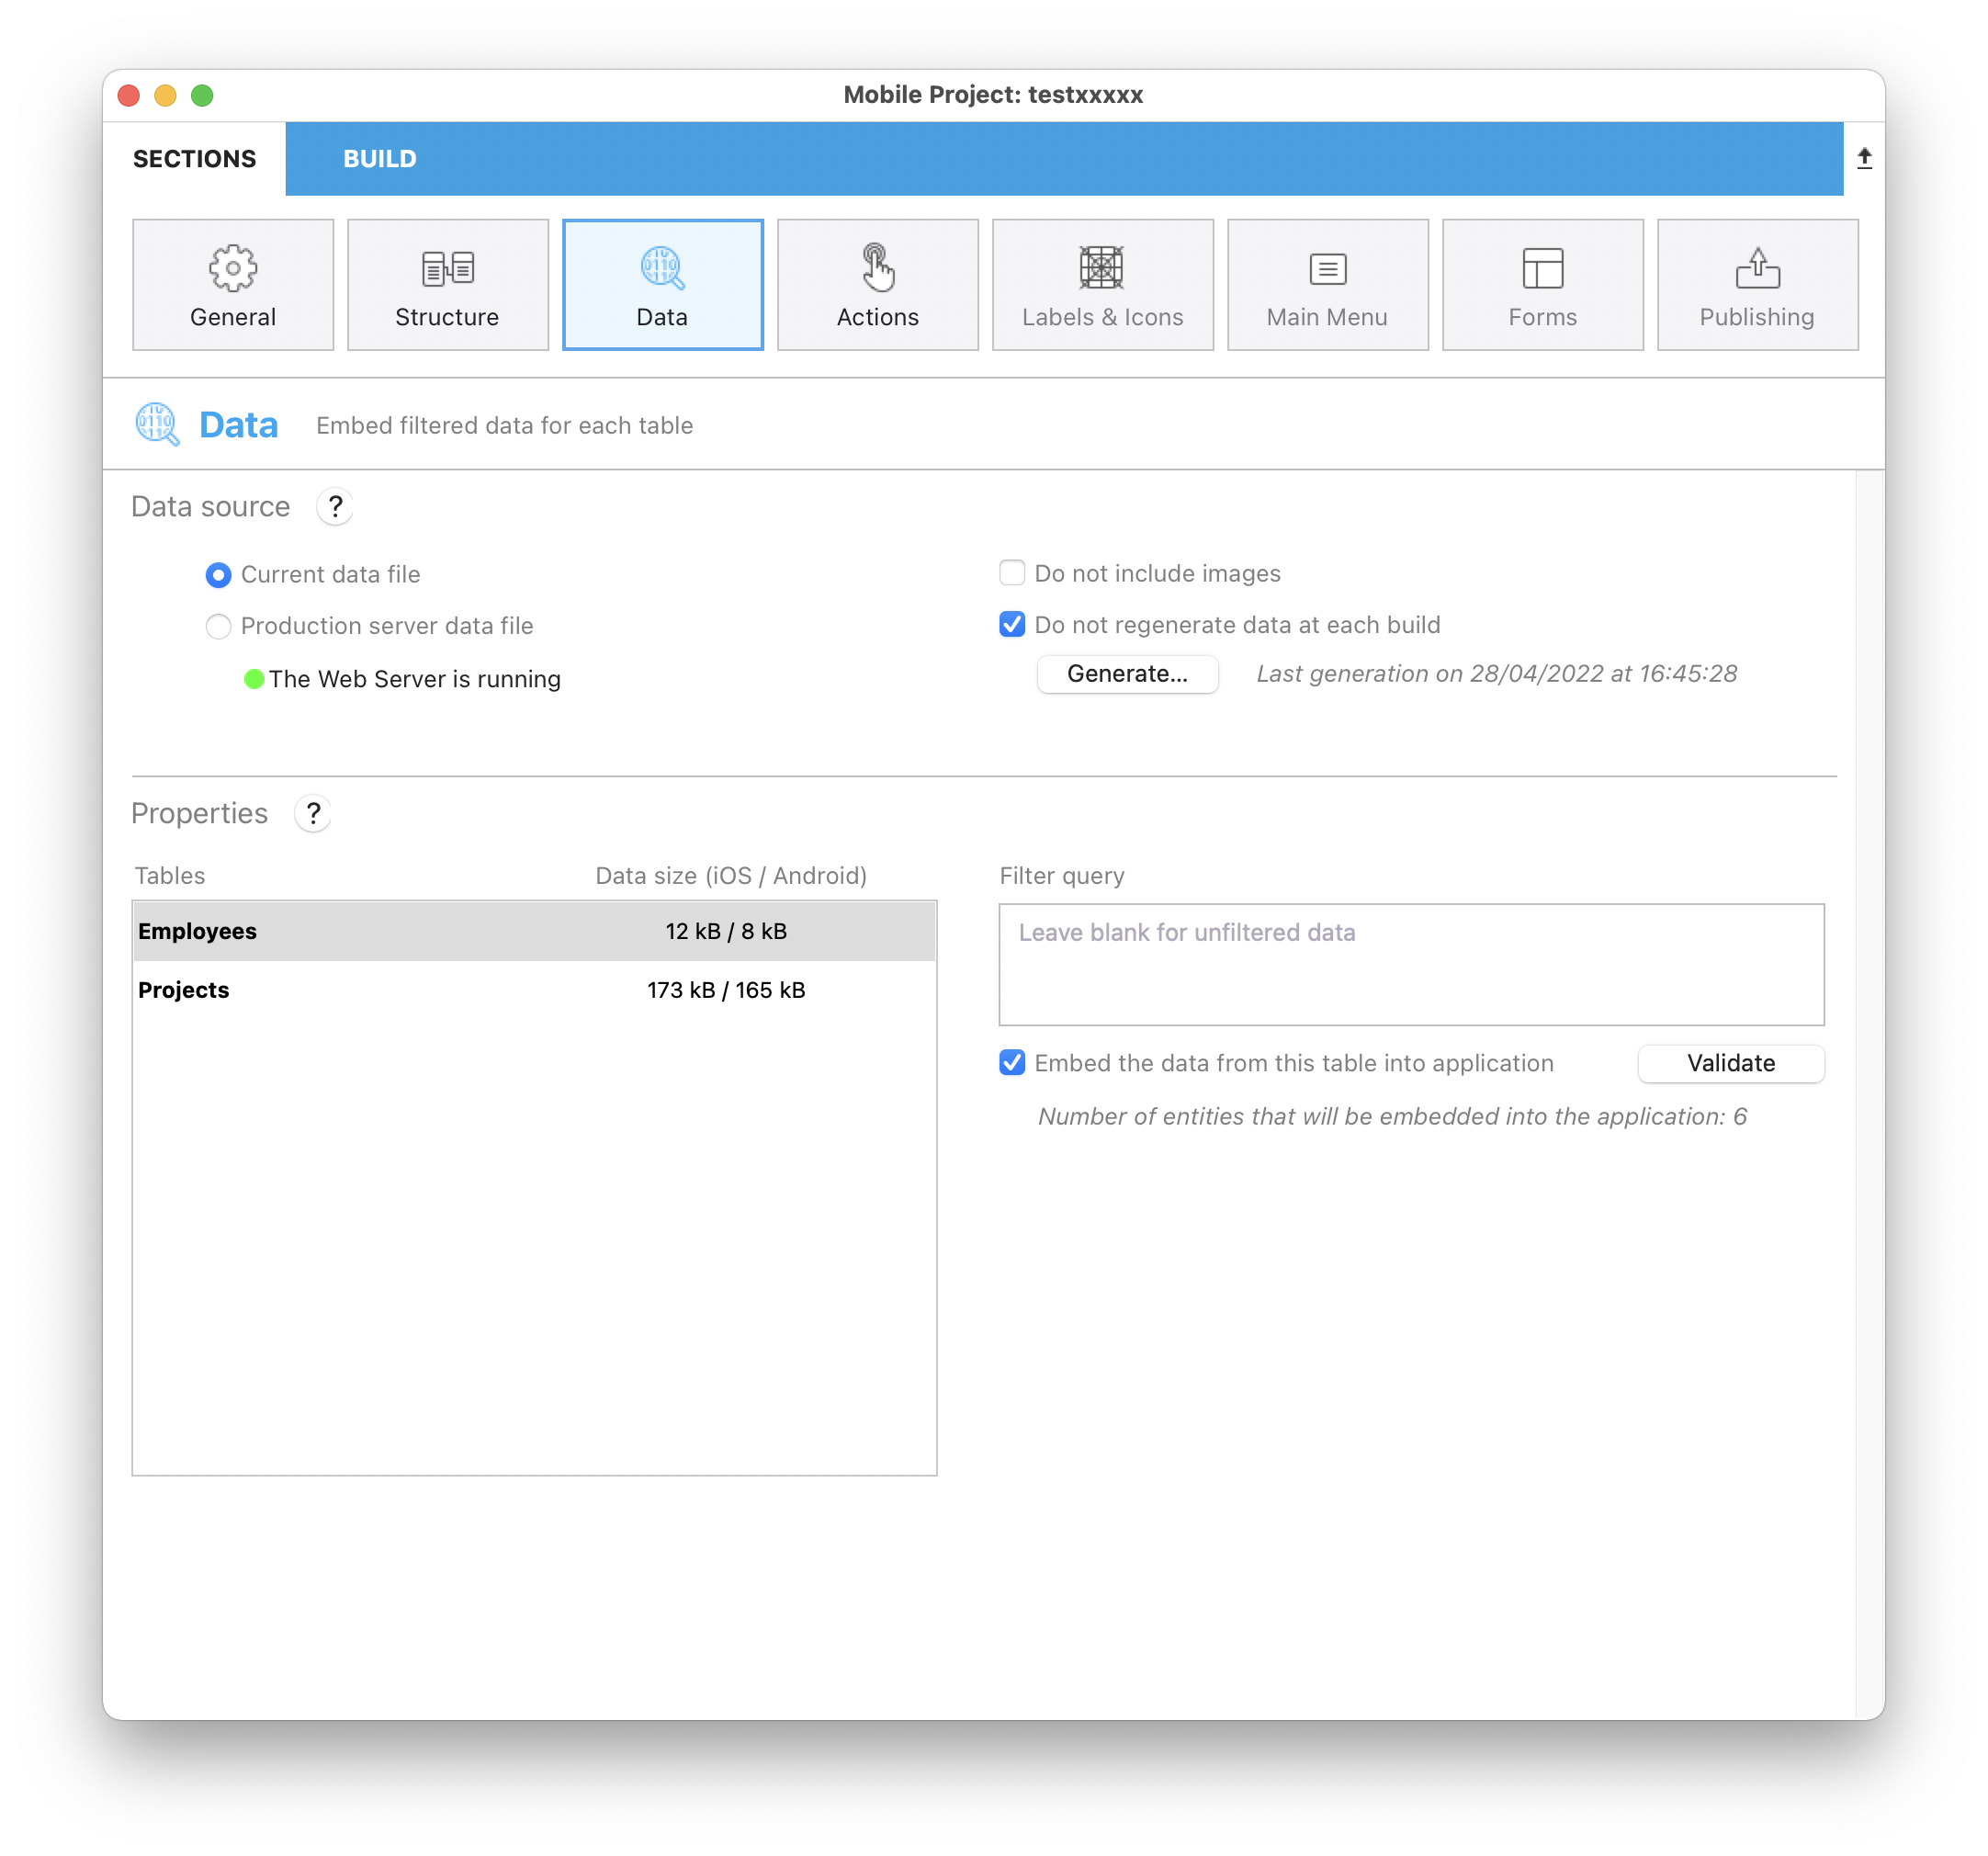
Data source
This panel allows you to configure the source of data handled by your app.
Data file
Select the data file from which to get the data that will be handled by your app:
Current data file: the data is taken from the current data file of the 4D project. This option is useful in the development phase. Since it requires that the Web server is launched, a Start Web Server button is displayed if it is not running.
Production server data file: the data is taken from a production server running the 4D project over the network. The Production URL must be entered from the Publishing page if you choose this option. If not defined, you can click on the Set the Server URL button to open the Publishing page. This option requires that you select explicitely the
key.mobileappsecurity file (see below).
Selecting the key.mobileapp file
To secure access to the data to embed, a key.mobileapp file is automatically generated by the 4D mobile editor in the MobileApps folder when the data file is selected. This key must be correctly installed to allow data dumping. It is required when:
- the app is built
- you click on the Regenerate now button.
The MobileApps folder is automatically created in the 4D project's data folder.
When you work with the Current data file, the key.mobileapp file is automatically selected in the data folder of the local project.
When you work with the Production server data file, you need to copy from the server and select the remote key.mobileapp file:
On the production server machine, copy the
key.mobileappfile from the/Data/MobileAppsfolder of the server application project.In the mobile project editor, click on the Locate the key... button:

- Select the
key.mobileappfile copied from the server.
It is recommended to copy the file in the /Data/MobileApps folder of the local project.
This key is only necessary to access data to be embedded in the app. Subsequent accesses to server data from the apps are [authenticated at the request level](/go-mobile/es/docs/project-definition/publishing/authentication).
Do not include images
Embedding images from the data in your app can be time consuming, especially in the development phase. Checking this option can save a considerable amount of time when building your app.
Do not regenerate data at each build
By defaut, each time you build your app, preloaded data (if any) are regenerated from the data file in .sqlite format (for iOS) or .db format (for Android). In the development phase, you can save time by selecting this option.
Regenerate Now
This button regenerates the data to preload from the data file. It allows you to control the data generation during the development phase, specially when the Do not regenerate data at each build option is checked.
During the data generation process, a modal window appears, locks the project editor, and displays a progression bar with different generation steps (http requests for tables, core data injection, etc.) and several suggestions such as: "If it takes too much time, try refiltering your data...".

You can also choose to cancel an ongoing data generation by clicking on the cancel button ![]() .
.
This button requires a valid key.mobileapp file if you use the production server data file.
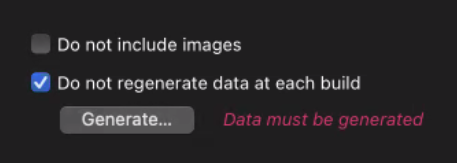
Every time you modify the structure or the target (Android or iOS), the app is no longer synchronized and needs to be regenerated. Therefore, as a reminder, the message Data must be generated appears in red as follows:
Properties
In this area, you can:
- select tables from which to get embedded (preloaded) data
- define filter queries for each table. Filter queries are automatically applied when the app access data, in order to only get a selection of records.
By default, if you do not define a filter query for a table, all of its records are embedded.
Tables
You can define one filter query per table. This list allows you to:
- select the table for which you want to add or edit a filter query
- see the size of embedded data if the embed option is selected. This information is not available if table data access uses a filter query based upon user information since it depends on the user.
- see if the table is associated to a filter query
 or a filter query with user information
  .
.
All the selected tables will generate .json files in the Resources>Data folder, and will be automatically converted in a single SQLite file that will be used in the app.
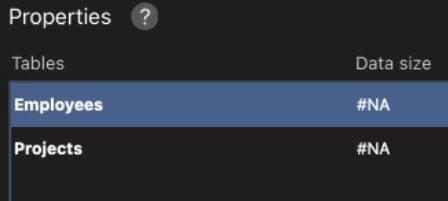
Data Size
The size of each table is mentioned in this column. Note that the total size of your files should comply with size restrictions of each OS. For more information , see the FAQ section.
In case no data is available or if a regeneration is needed, the value #NA will be displayed as follows:
Embed the data from this table
![]()
When this option is checked (default), the editor will preload data in the mobile app when it is built or when data are regenerated. This option accelerates data access from the mobile app since it only requires updates and not full downloads. It is particularly suited for stable data like cities or countries.
You can uncheck the option if preloading the table data is not accurate.
This option is not available if table data access uses a filter query based upon user information since it depends on the user. In this context, the button is replaced by the Edit authentication method... button that opens the On Mobile App Authentication method in which you can process user information.
Filter queries
You can define one filter query per table. When a table is selected, click in the Filter query area, a set of menus is then displayed above the area:
![]()
To define a query:
- Enter your query in the dedicated field by typing it directly in the query area or using the Fields, Comparators and Operators menus.
A query uses the following syntax:
field comparator value {logicalOperator field comparator value}
- Check your query validity by clicking on the Validate button, and get the following feedback displayed below the query field:
- If the entity number matches the filter query: "Entity number that will be embedded into the application : EntityNumber/EntityTotal".
- If no entity matches the filter query: "No entity will be embedded into the application."
- If the server is not reachable: "Entity number that will be embedded into the application : N/A. The server is not reachable."
- If a table filter query has not been validated, the table appears in red in the left Table list ("validated" : false in project.4dmobileapp).
- If the server returns an error, it is displayed permanently below the query field.
Click on the Validate button each time you modify the filter query (a query that has been edited and not validated appears in red in the query editor).
When a query filter is valid, an icon appears near the table name (![]() for static filters and
for static filters and ![]() for filters with user information).
for filters with user information).
Refer to the $filter REST documentation for a detailed description of query syntaxes. The string entered in the Filter query area is directly passed as parameter to the $filter= REST command.
Example
If you select a table that contains a FirstName field and a LastName field, you can write in the Filter query:
FirstName = 'Lisa' & LastName = 'Hart'
This query gets only the records that include "Lisa" as FirstName and "Hart" as LastName.
Filter queries with user information
You can define filter queries where the value parameter depends on user information that is returned by the On Mobile App Authentication database method of the 4D project.
To specify that the query depends on user information, just add : and a custom key value in the query.
For example, you can define filter queries such as:
Name = :name
employee.level > :level
cityName = :city
... where : preceeds variables that will be automatically filled by the mobile app depending on values returned by the On Mobile App Authentication database method in the userInfo object. The variables must exist as custom property names in the userInfo object.
Here is how it works:
- When the mobile app sends a request for data, the
On Mobile App Authenticationdatabase method is automatically called and gets information from the app in its $1 object parameter, in particular theemail, but also thedeviceor thelanguage. - The database method queries the 4D datastore to get appropriate information with regard to the business rules and can return any value as a custom property of the
userInfoobject. For example:
$id:=ds.Salesperson.query("email == :1";$1.email).first().id
    //gets the id value of the salesperson from its email
If($id#null)
    $Obj_response.userInfo:=New object("id";$id) //stores id in the userInfo to return
End if
...
$0:=$Obj_response
- The mobile app automatically manages a
userInfoobject per user. In our example, the "id" custom property is available in the returned objet. Thus, you can write as the "Customers" table filter query:
salespersonid = :id
When the mobile app will access data from the "Customers" table, only customers belonging to the logged salesperson will be displayed.
See the Define a filter query tutorial for a complete example of filter query with user info in a mobile app.