Android Layout
Now it's time to create your iOS detail form interface with Android Studio!
Voici le résultat que nous souhaitons obtenir :
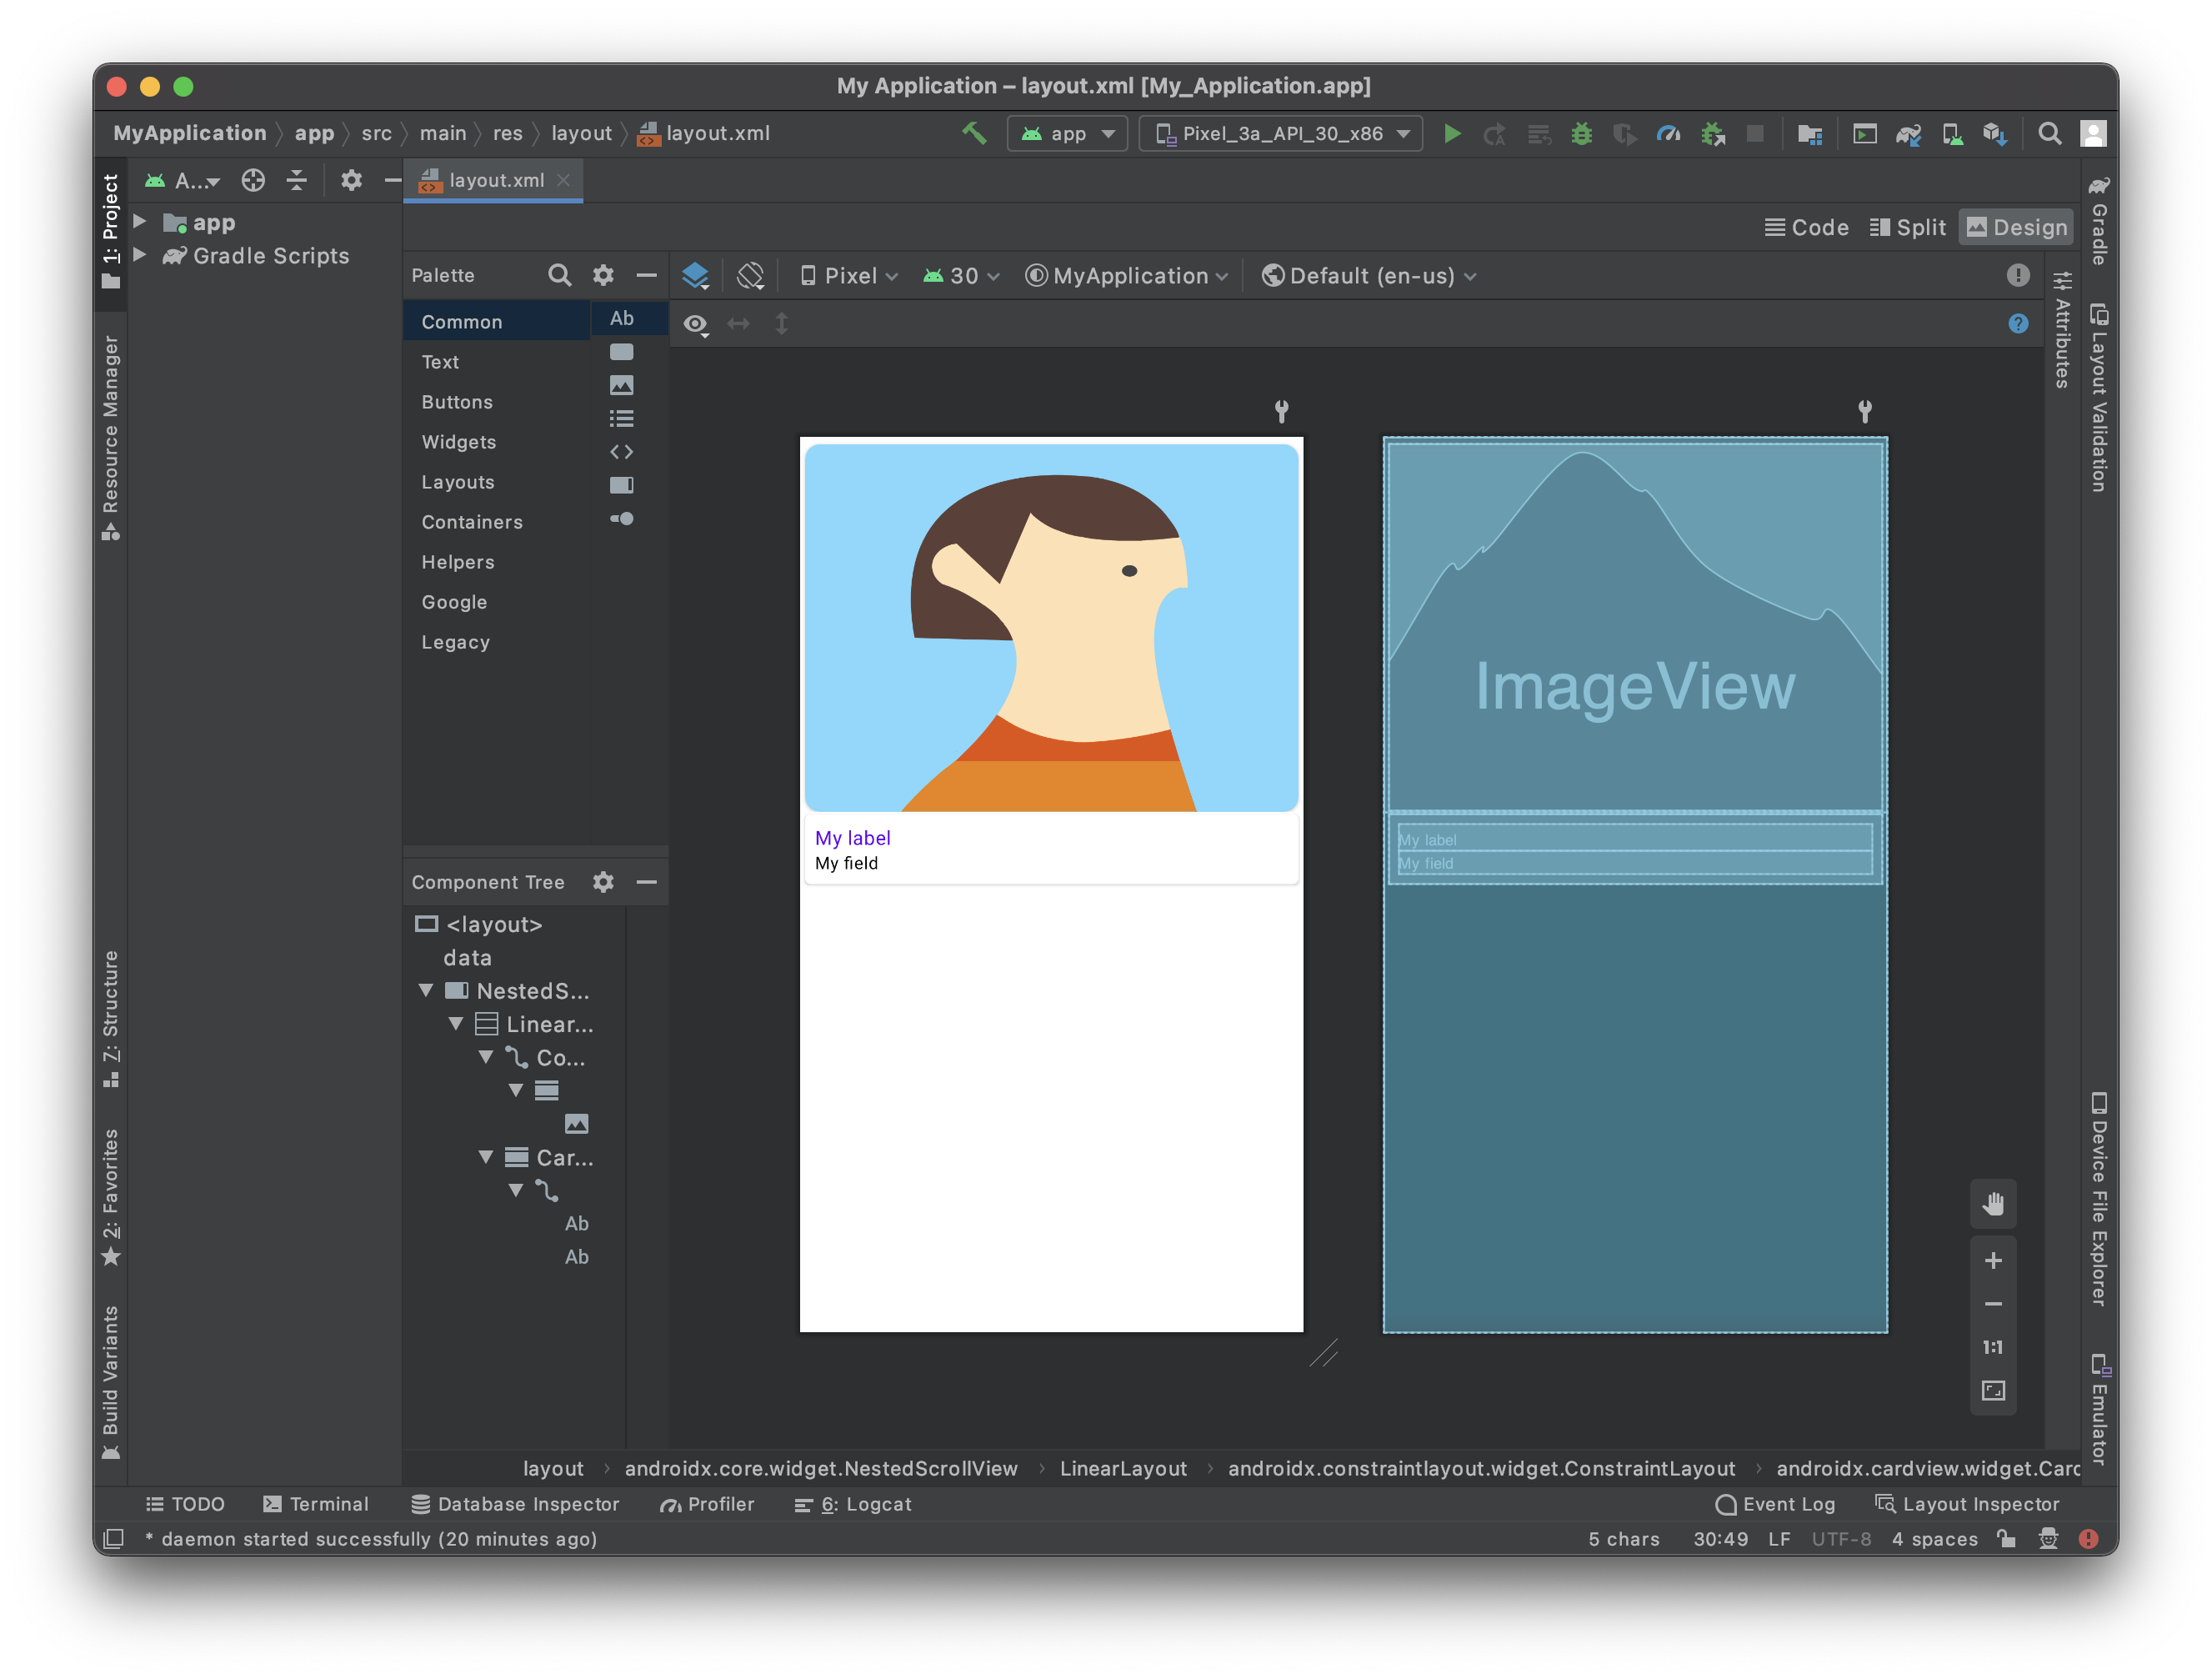
Pour chaque cellule, nous allons ajouter :
- Une photo de profil dans l'en-tête
- Un champ à dupliquer
Open the layout file with Android Studio
The best way to edit or create a tempalte is to :
Open Android Studio and create a new empty mobile project clicking on File > New > New Project...
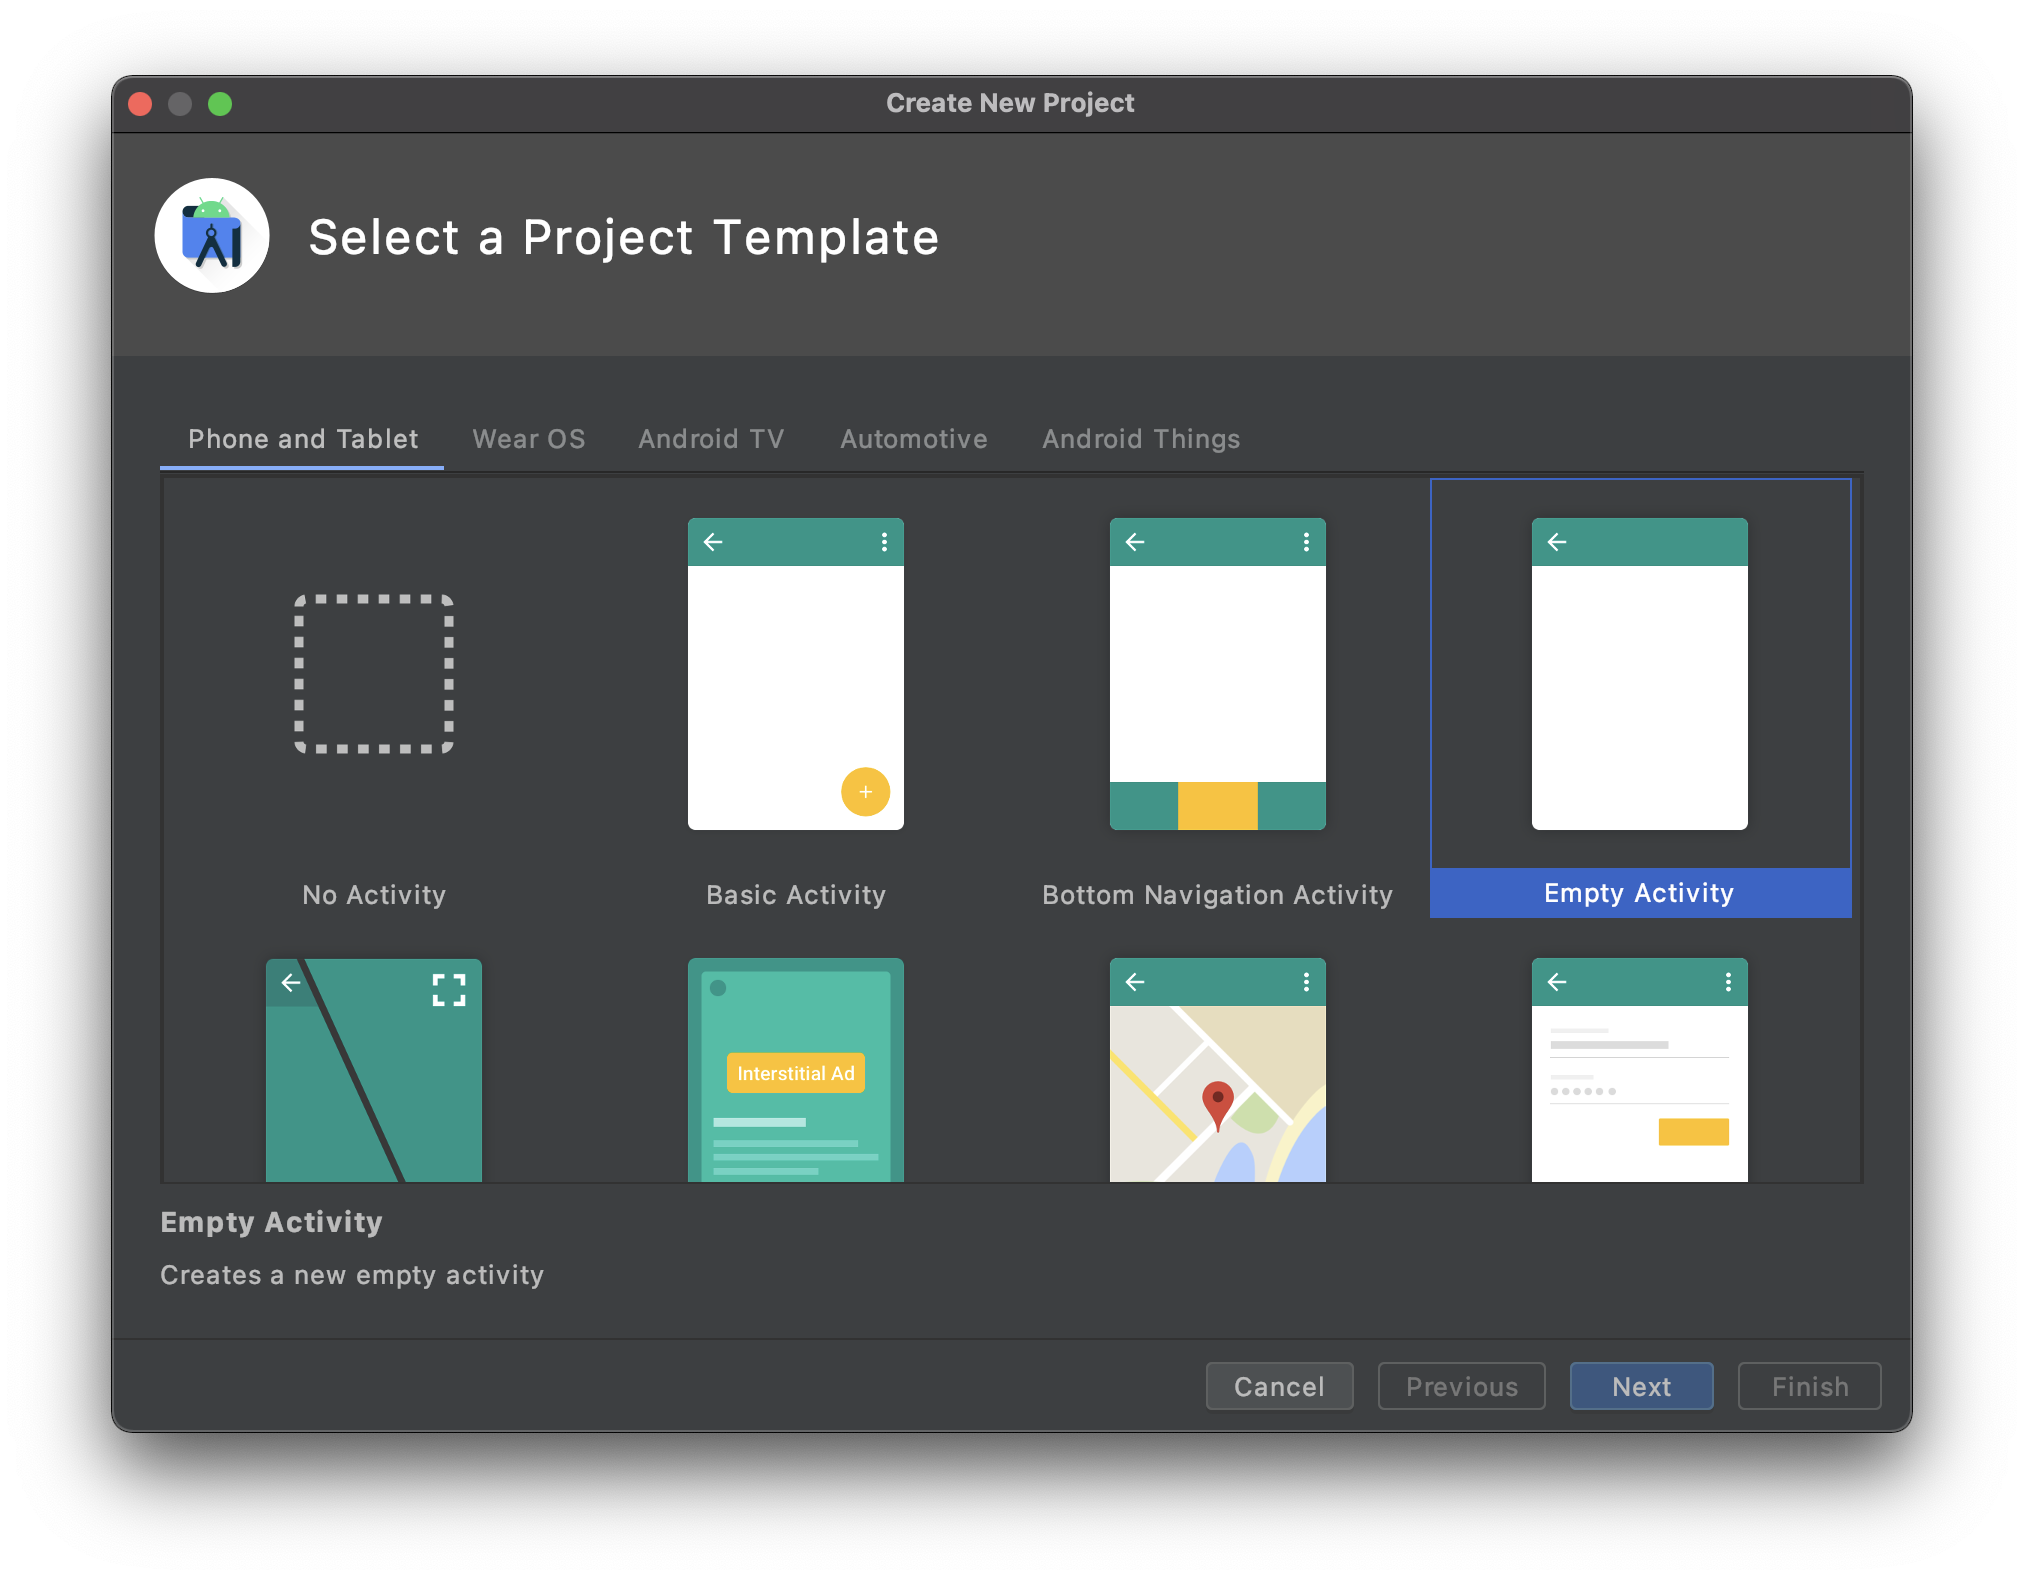
Select the Empty Activity template
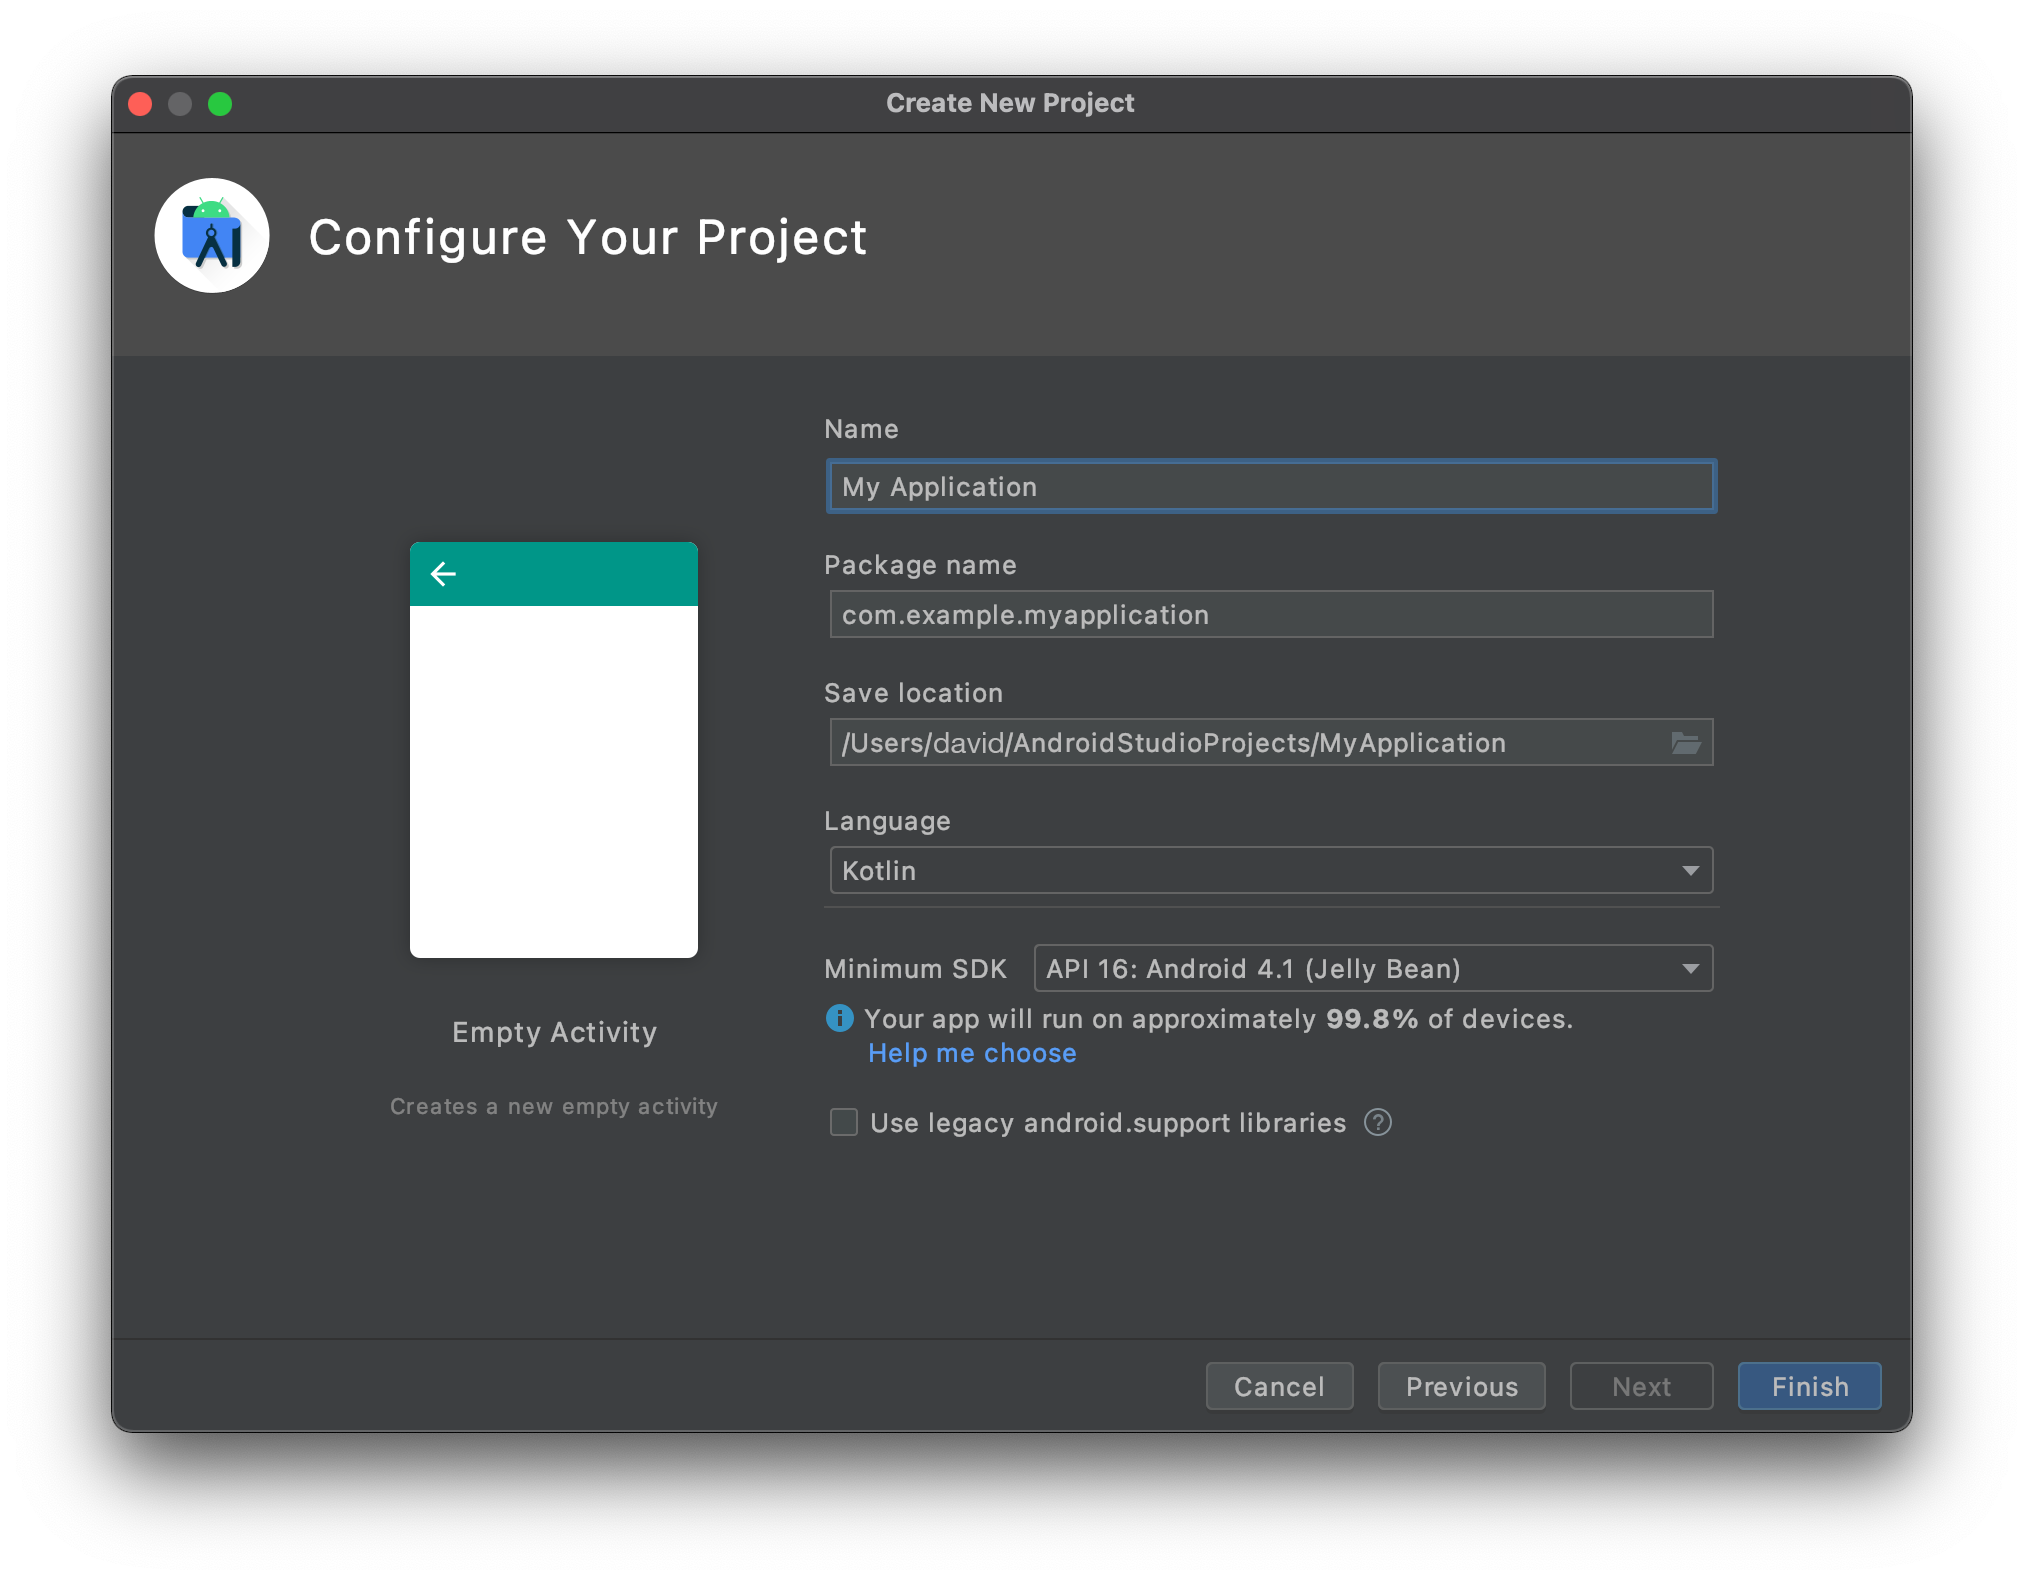
- Configure your project and click Finish
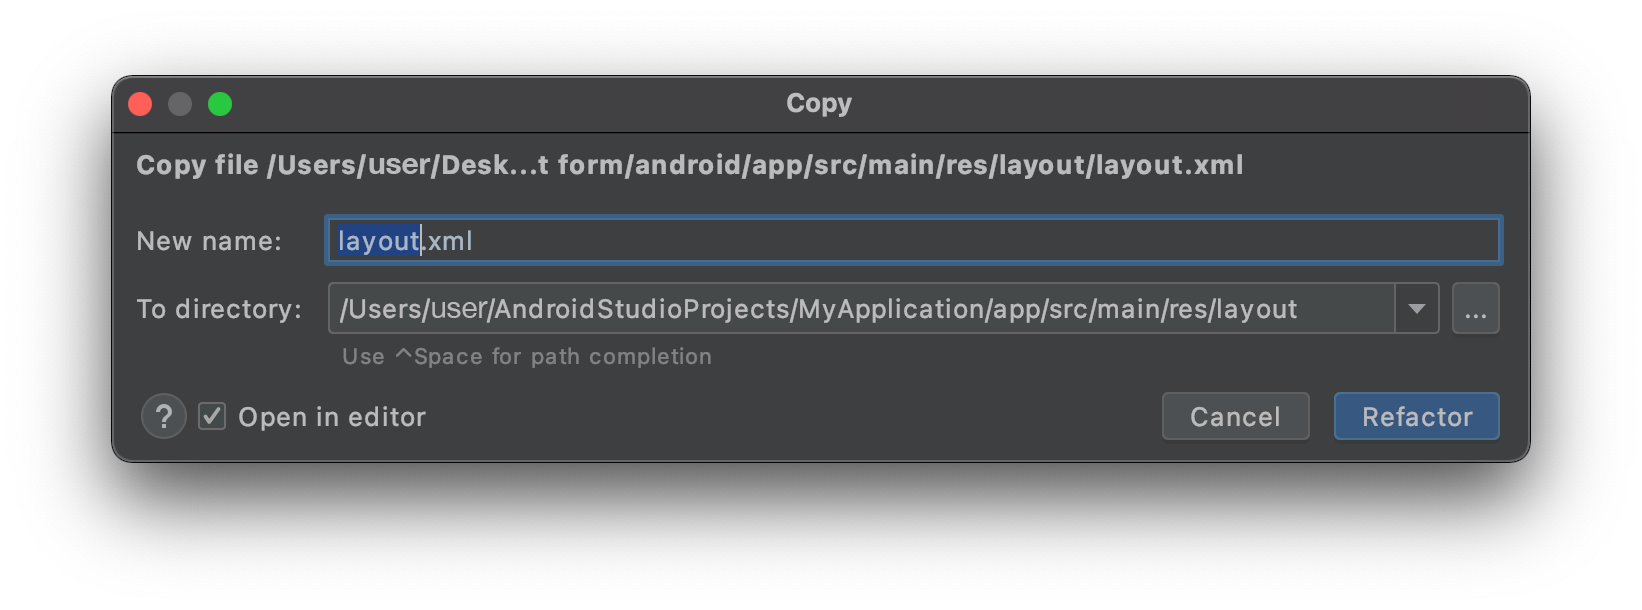
- Copy the layout.xml file in app > res > layout dropping it directly on the project layout folder
- You should have that at that point :
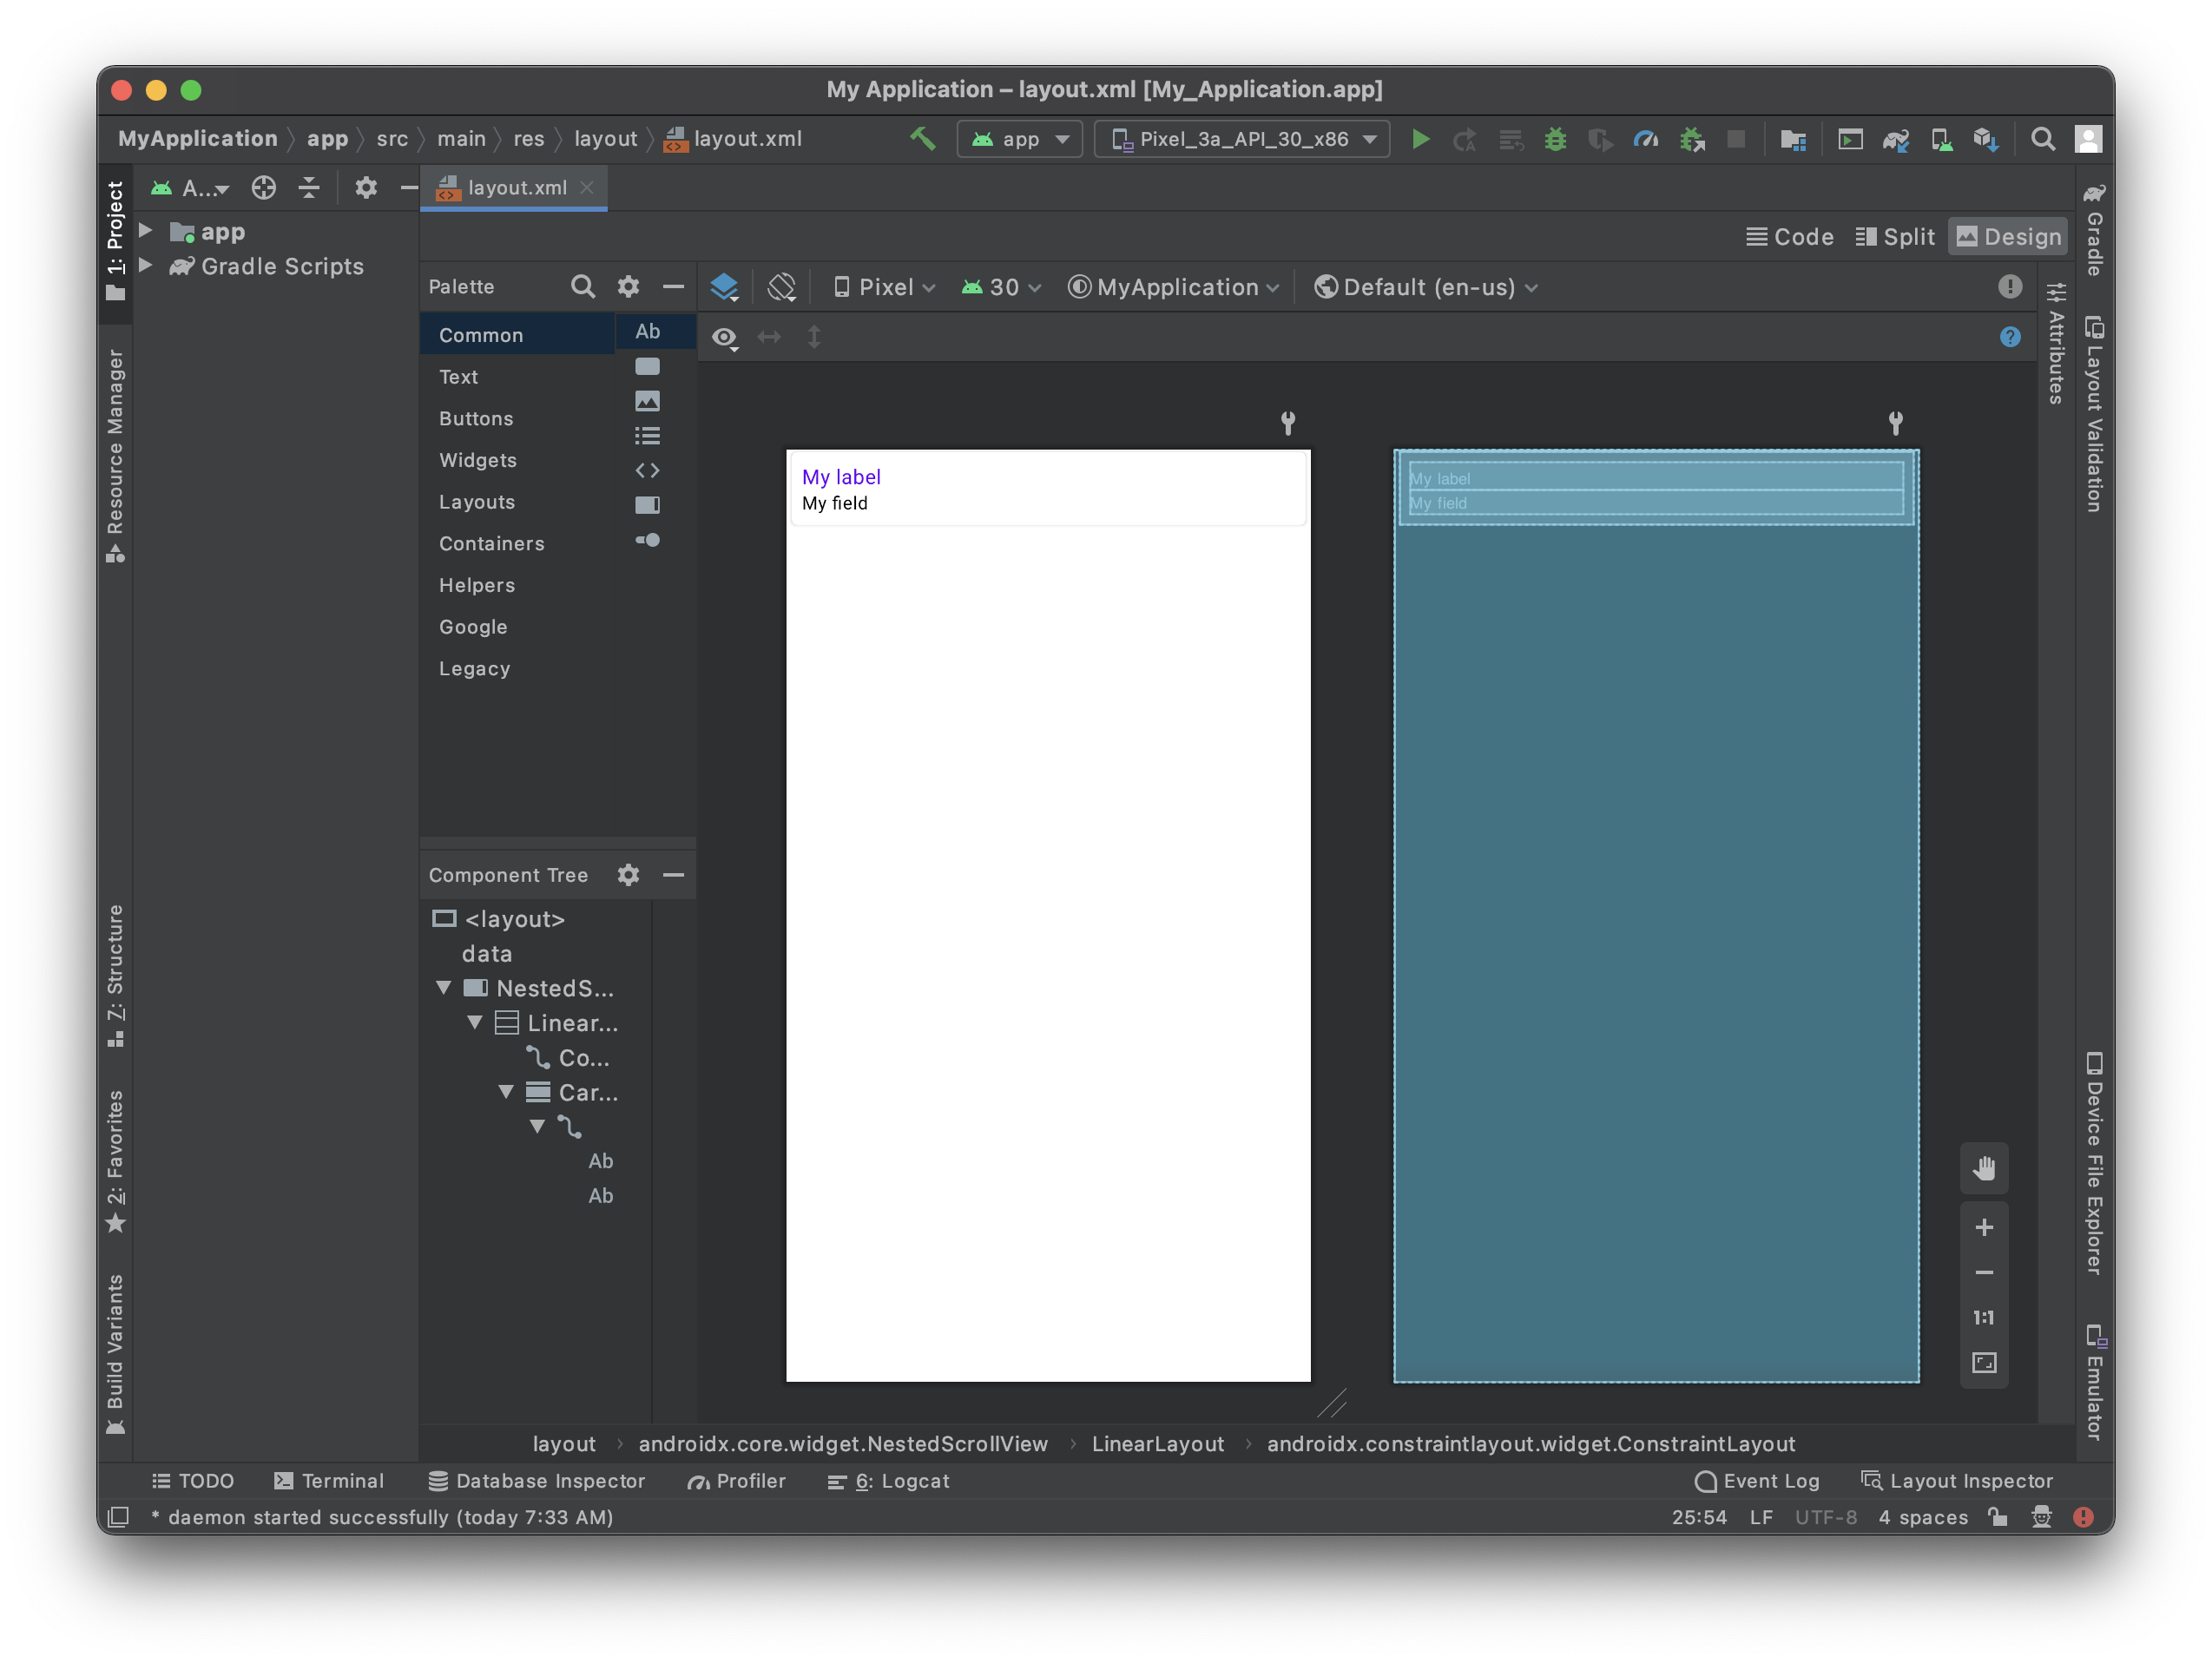
- Click on the top right Split option to visualize the template preview as well as the xml code.
Il est assez vide, nous allons donc y ajouter du contenu !
What is available in this starter project
For the view to be scrollable, a scrollview is already included in the layout :
    <androidx.core.widget.NestedScrollView
        android:layout_width="match_parent"
        android:layout_height="match_parent"
        android:fillViewport="true">
The part that is going to be duplicated :
 <androidx.cardview.widget.CardView
                android:layout_width="match_parent"
                android:layout_height="wrap_content"
                android:layout_gravity="center"
                android:layout_marginHorizontal="4dp"
                android:layout_marginVertical="2dp"
                card_view:cardCornerRadius="4dp">

                <androidx.constraintlayout.widget.ConstraintLayout
                    android:layout_width="match_parent"
                    android:layout_height="wrap_content">

                    <TextView
                        android:id="@+id/__LABEL_ID__"
                        android:layout_width="0dp"
                        android:layout_height="wrap_content"
                        android:layout_marginStart="8dp"
                        android:layout_marginTop="8dp"
                        android:layout_marginEnd="8dp"
                        android:scrollbars="none"
                        android:text="__LABEL__"
                        android:textAppearance="@style/TextAppearance.MaterialComponents.Body1"
                        android:textColor="?colorPrimary"
                        app:layout_constraintBottom_toTopOf="@+id/__VALUE_ID__"
                        app:layout_constraintEnd_toEndOf="parent"
                        app:layout_constraintStart_toStartOf="parent"
                        app:layout_constraintTop_toTopOf="parent"
                        tools:text="My label" />

                    <!--IF_IS_IMAGE-->
                    <!-- IF THE DROPPED FIELD IS AN IMAGE -->
                    <ImageView
                        android:id="@+id/__VALUE_ID__"
                        android:layout_width="0dp"
                        android:layout_height="wrap_content"
                        android:layout_marginStart="8dp"
                        android:layout_marginTop="8dp"
                        android:layout_marginEnd="8dp"
                        android:layout_marginBottom="8dp"
                        android:contentDescription="Image"
                        app:imageUrl="__IMAGE__"
                        app:layout_constraintBottom_toBottomOf="parent"
                        app:layout_constraintEnd_toEndOf="parent"
                        app:layout_constraintStart_toStartOf="parent"
                        app:layout_constraintTop_toBottomOf="@+id/__LABEL_ID__" />
                    <!--END_IF_IS_IMAGE-->
                    <!--IF_IS_NOT_IMAGE-->
                    <!-- IF THE DROPPED FIELD IS NOT AN IMAGE, THEN IT WILL BE A TEXT VIEW -->

                    <TextView
                        android:id="@+id/__VALUE_ID__"
                        android:layout_width="0dp"
                        android:layout_height="wrap_content"
                        android:layout_marginStart="8dp"
                        android:layout_marginEnd="8dp"
                        android:layout_marginBottom="8dp"
                        android:scrollbars="none"
                        android:text="__TEXT__"
                        android:textAlignment="textStart"
                        android:textAllCaps="false"
                        android:textAppearance="@style/TextAppearance.MaterialComponents.Body2"
                        android:textColor="?colorOnSurface"
                        app:layout_constraintBottom_toBottomOf="parent"
                        app:layout_constraintEnd_toEndOf="parent"
                        app:layout_constraintStart_toStartOf="parent"
                        app:layout_constraintTop_toBottomOf="@+id/__LABEL_ID__"
                        tools:text="My field" />
                    <!--END_IF_IS_NOT_IMAGE-->

                </androidx.constraintlayout.widget.ConstraintLayout>

            </androidx.cardview.widget.CardView>
Ajouter une "Image View"
In order to have a nice Image view display we are going to use agin a CardView container again as we want to add a nice corner radius to the ImageView to have a better design.
    <androidx.cardview.widget.CardView
                    android:id="@+id/cardview"
                    android:layout_width="match_parent"
                    android:layout_height="300dp"
                    android:layout_gravity="center"
                    android:layout_marginHorizontal="4dp"
                    android:layout_marginVertical="6dp"
                    card_view:cardCornerRadius="12dp"
                    app:layout_constraintEnd_toEndOf="parent"
                    app:layout_constraintStart_toStartOf="parent"
                    app:layout_constraintTop_toTopOf="parent">
                    <ImageView
                        android:id="@+id/__SPECIFIC_ID_1__"
                        android:layout_width="match_parent"
                        android:layout_height="match_parent"
                        android:contentDescription="Image"
                        android:scaleType="centerCrop"
                        app:imageUrl="__IMAGE_1__"
                        app:layout_constraintEnd_toEndOf="parent"
                        app:layout_constraintStart_toStartOf="parent"
                        app:layout_constraintTop_toTopOf="parent"
                        tools:background="@tools:sample/avatars"/>
                </androidx.cardview.widget.CardView>
As you can see the ImageView is embedded into the CardView. That allows to add corner radius to it.
The app:imageUrl="__IMAGE_1__" line will allow to bind image value that is situated in position 1 in the svg file that you previously defined.
The tools:background="@tools:sample/avatars" line simply there to display an ImageView placeholder.
Here is the full layout code at this stage :
<?xml version="1.0" encoding="utf-8"?>

<layout xmlns:android="http://schemas.android.com/apk/res/android"
    xmlns:app="http://schemas.android.com/apk/res-auto"
    xmlns:card_view="http://schemas.android.com/apk/res-auto"
    xmlns:tools="http://schemas.android.com/tools"
    tools:ignore="DuplicateIds,HardcodedText">

    <data>

        <!--ENTITY_VARIABLE-->
    </data>

    <!-- Generated with detail form template named "Visual Contact" -->

    <androidx.core.widget.NestedScrollView
        android:layout_width="match_parent"
        android:layout_height="match_parent"
        android:fillViewport="true">

        <LinearLayout
            android:layout_width="match_parent"
            android:layout_height="match_parent"
            android:orientation="vertical">

            <!-- START EDITING HERE -->

            <androidx.constraintlayout.widget.ConstraintLayout
                android:layout_width="match_parent"
                android:layout_height="wrap_content">

                <androidx.cardview.widget.CardView
                    android:id="@+id/cardview"
                    android:layout_width="match_parent"
                    android:layout_height="300dp"
                    android:layout_gravity="center"
                    android:layout_marginHorizontal="4dp"
                    android:layout_marginVertical="6dp"
                    card_view:cardCornerRadius="12dp"
                    app:layout_constraintEnd_toEndOf="parent"
                    app:layout_constraintStart_toStartOf="parent"
                    app:layout_constraintTop_toTopOf="parent">

                    <ImageView
                        android:id="@+id/__SPECIFIC_ID_1__"
                        android:layout_width="match_parent"
                        android:layout_height="match_parent"
                        android:contentDescription="Image"
                        android:scaleType="centerCrop"
                        app:imageUrl="__IMAGE_1__"
                        app:layout_constraintEnd_toEndOf="parent"
                        app:layout_constraintStart_toStartOf="parent"
                        app:layout_constraintTop_toTopOf="parent"
                        tools:background="@tools:sample/avatars"/>
                </androidx.cardview.widget.CardView>


            </androidx.constraintlayout.widget.ConstraintLayout>

            <!--
            THE FOLLOWING PART WILL BE DUPLICATED CARD VIEWS FOR EVERY FIELD
            YOU DROP AT THE BOTTOM OF THE TEMPLATE
            -->

            <!--FOR_EACH_FIELD-->
            <!-- EVERYTHING BELOW WILL BE DUPLICATED FOR EACH FIELD YOU DROP AT THE BOTTOM OF THE
                 TEMPLATE IN THE PROJECT EDITOR -->
            <androidx.cardview.widget.CardView
                android:layout_width="match_parent"
                android:layout_height="wrap_content"
                android:layout_gravity="center"
                android:layout_marginHorizontal="4dp"
                android:layout_marginVertical="2dp"
                card_view:cardCornerRadius="4dp">

                <androidx.constraintlayout.widget.ConstraintLayout
                    android:layout_width="match_parent"
                    android:layout_height="wrap_content">

                    <TextView
                        android:id="@+id/__LABEL_ID__"
                        android:layout_width="0dp"
                        android:layout_height="wrap_content"
                        android:layout_marginStart="8dp"
                        android:layout_marginTop="8dp"
                        android:layout_marginEnd="8dp"
                        android:scrollbars="none"
                        android:text="__LABEL__"
                        android:textAppearance="@style/TextAppearance.MaterialComponents.Body1"
                        android:textColor="?colorPrimary"
                        app:layout_constraintBottom_toTopOf="@+id/__VALUE_ID__"
                        app:layout_constraintEnd_toEndOf="parent"
                        app:layout_constraintStart_toStartOf="parent"
                        app:layout_constraintTop_toTopOf="parent"
                        tools:text="My label" />

                    <!--IF_IS_IMAGE-->
                    <!-- IF THE DROPPED FIELD IS AN IMAGE -->
                    <ImageView
                        android:id="@+id/__VALUE_ID__"
                        android:layout_width="0dp"
                        android:layout_height="wrap_content"
                        android:layout_marginStart="8dp"
                        android:layout_marginTop="8dp"
                        android:layout_marginEnd="8dp"
                        android:layout_marginBottom="8dp"
                        android:contentDescription="Image"
                        app:imageUrl="__IMAGE__"
                        app:layout_constraintBottom_toBottomOf="parent"
                        app:layout_constraintEnd_toEndOf="parent"
                        app:layout_constraintStart_toStartOf="parent"
                        app:layout_constraintTop_toBottomOf="@+id/__LABEL_ID__" />
                    <!--END_IF_IS_IMAGE-->
                    <!--IF_IS_NOT_IMAGE-->
                    <!-- IF THE DROPPED FIELD IS NOT AN IMAGE, THEN IT WILL BE A TEXT VIEW -->

                    <TextView
                        android:id="@+id/__VALUE_ID__"
                        android:layout_width="0dp"
                        android:layout_height="wrap_content"
                        android:layout_marginStart="8dp"
                        android:layout_marginEnd="8dp"
                        android:layout_marginBottom="8dp"
                        android:scrollbars="none"
                        android:text="__TEXT__"
                        android:textAlignment="textStart"
                        android:textAllCaps="false"
                        android:textAppearance="@style/TextAppearance.MaterialComponents.Body2"
                        android:textColor="?colorOnSurface"
                        app:layout_constraintBottom_toBottomOf="parent"
                        app:layout_constraintEnd_toEndOf="parent"
                        app:layout_constraintStart_toStartOf="parent"
                        app:layout_constraintTop_toBottomOf="@+id/__LABEL_ID__"
                        tools:text="My field" />
                    <!--END_IF_IS_NOT_IMAGE-->

                </androidx.constraintlayout.widget.ConstraintLayout>

            </androidx.cardview.widget.CardView>

            <!--END_FOR_EACH_FIELD-->

        </LinearLayout>

    </androidx.core.widget.NestedScrollView>

</layout>
How to get data into your detail form
Image View
In our detail form template we used app:imageUrl="__IMAGE_1__"
Here we suppose the ImageView is the first view in the svg, and its view ID is __SPECIFIC_ID_1__. If it would be the third view, it would be __IMAGE_3__ and its view ID would be __SPECIFIC_ID_3__.
Que faire ensuite ?
Dans ce tutoriel, nous avons fait le tour des fondamentaux de la création de modèles de formulaires détaillés. Vous êtes maintenant en mesure de créer vous-même de simples modèles à l'aide des ressources du projet Starter. Cliquez sur le bouton Projet final ci-dessous pour télécharger le dossier contenant la liste complète de modèles.