リストフォームのテンプレート
OBJECTIVES
Create your first list form template.
PREREQUISITES
はじめにここをクリックして,すべての条件が揃っていることを確かめましょう!
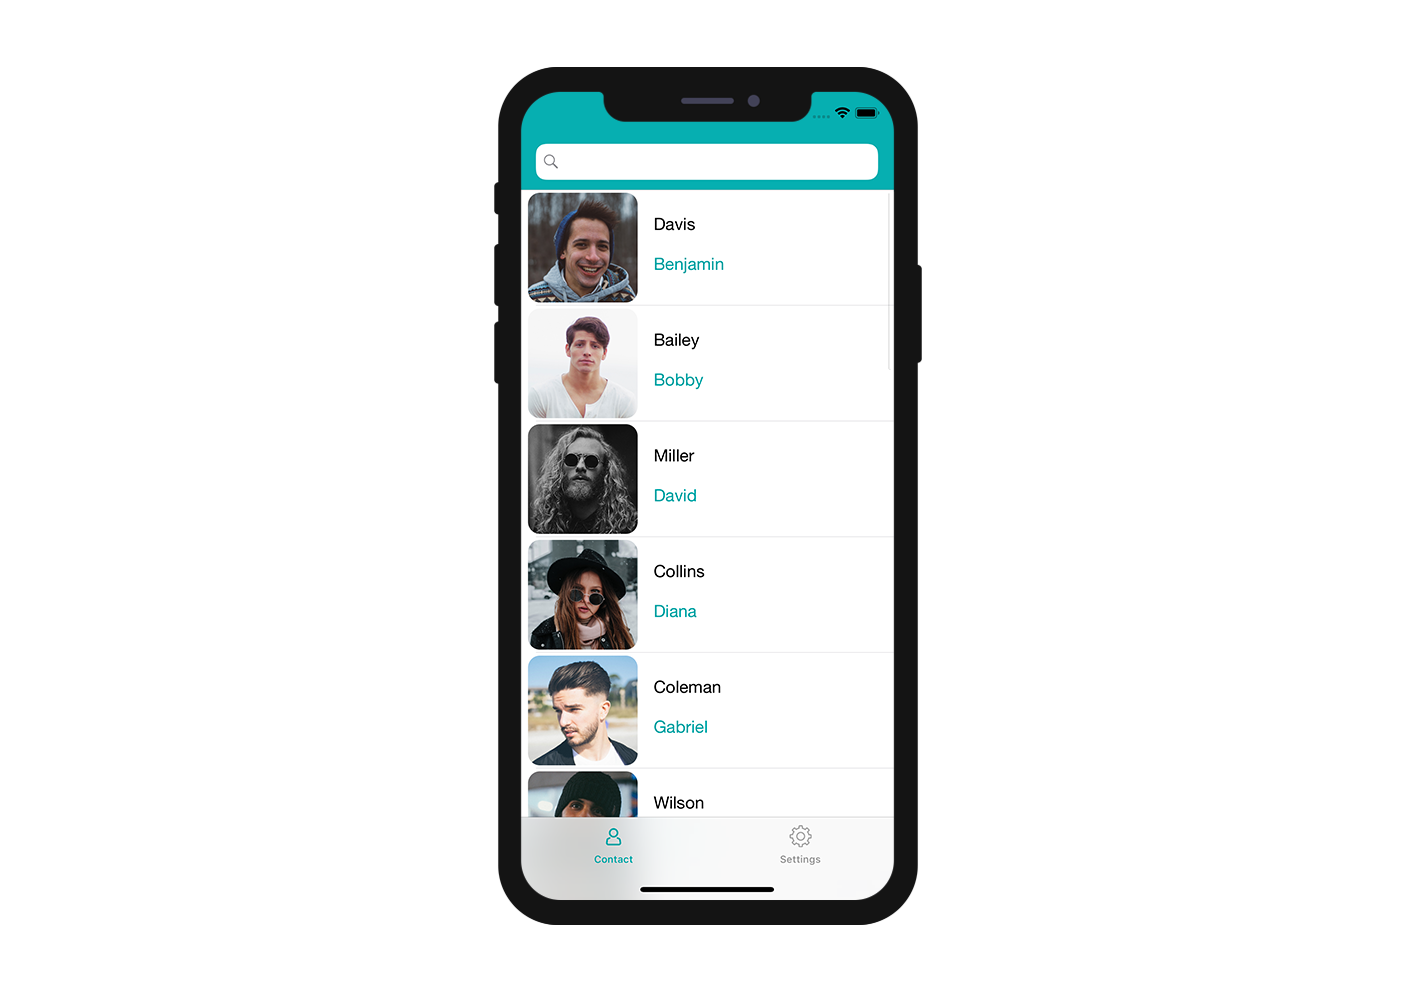
In this tutorial, we'll cover nearly all aspects of creating a list form template such as: creating a list form with a searchBar and a table displaying an image, a title, and a subtitle for each cell.

⒈ プロジェクトをダウンロードする
Before we begin, be sure to download the Starter Project which includes:
- A List form folder
- A Contact.4dbase file (a demo database with a ready-to-use mobile app project)
You are now ready to create your first list form template!
プロジェクトにリストフォームのテンプレートを追加する
The first thing you'll need to do is create a Contact.4dbase/Resources/Mobile/form/list folder. Then drag and drop your list form folder into it.

Next, open the Contact.4dbase file with 4D. (File > open > Mobile Project > Contact Demo App)
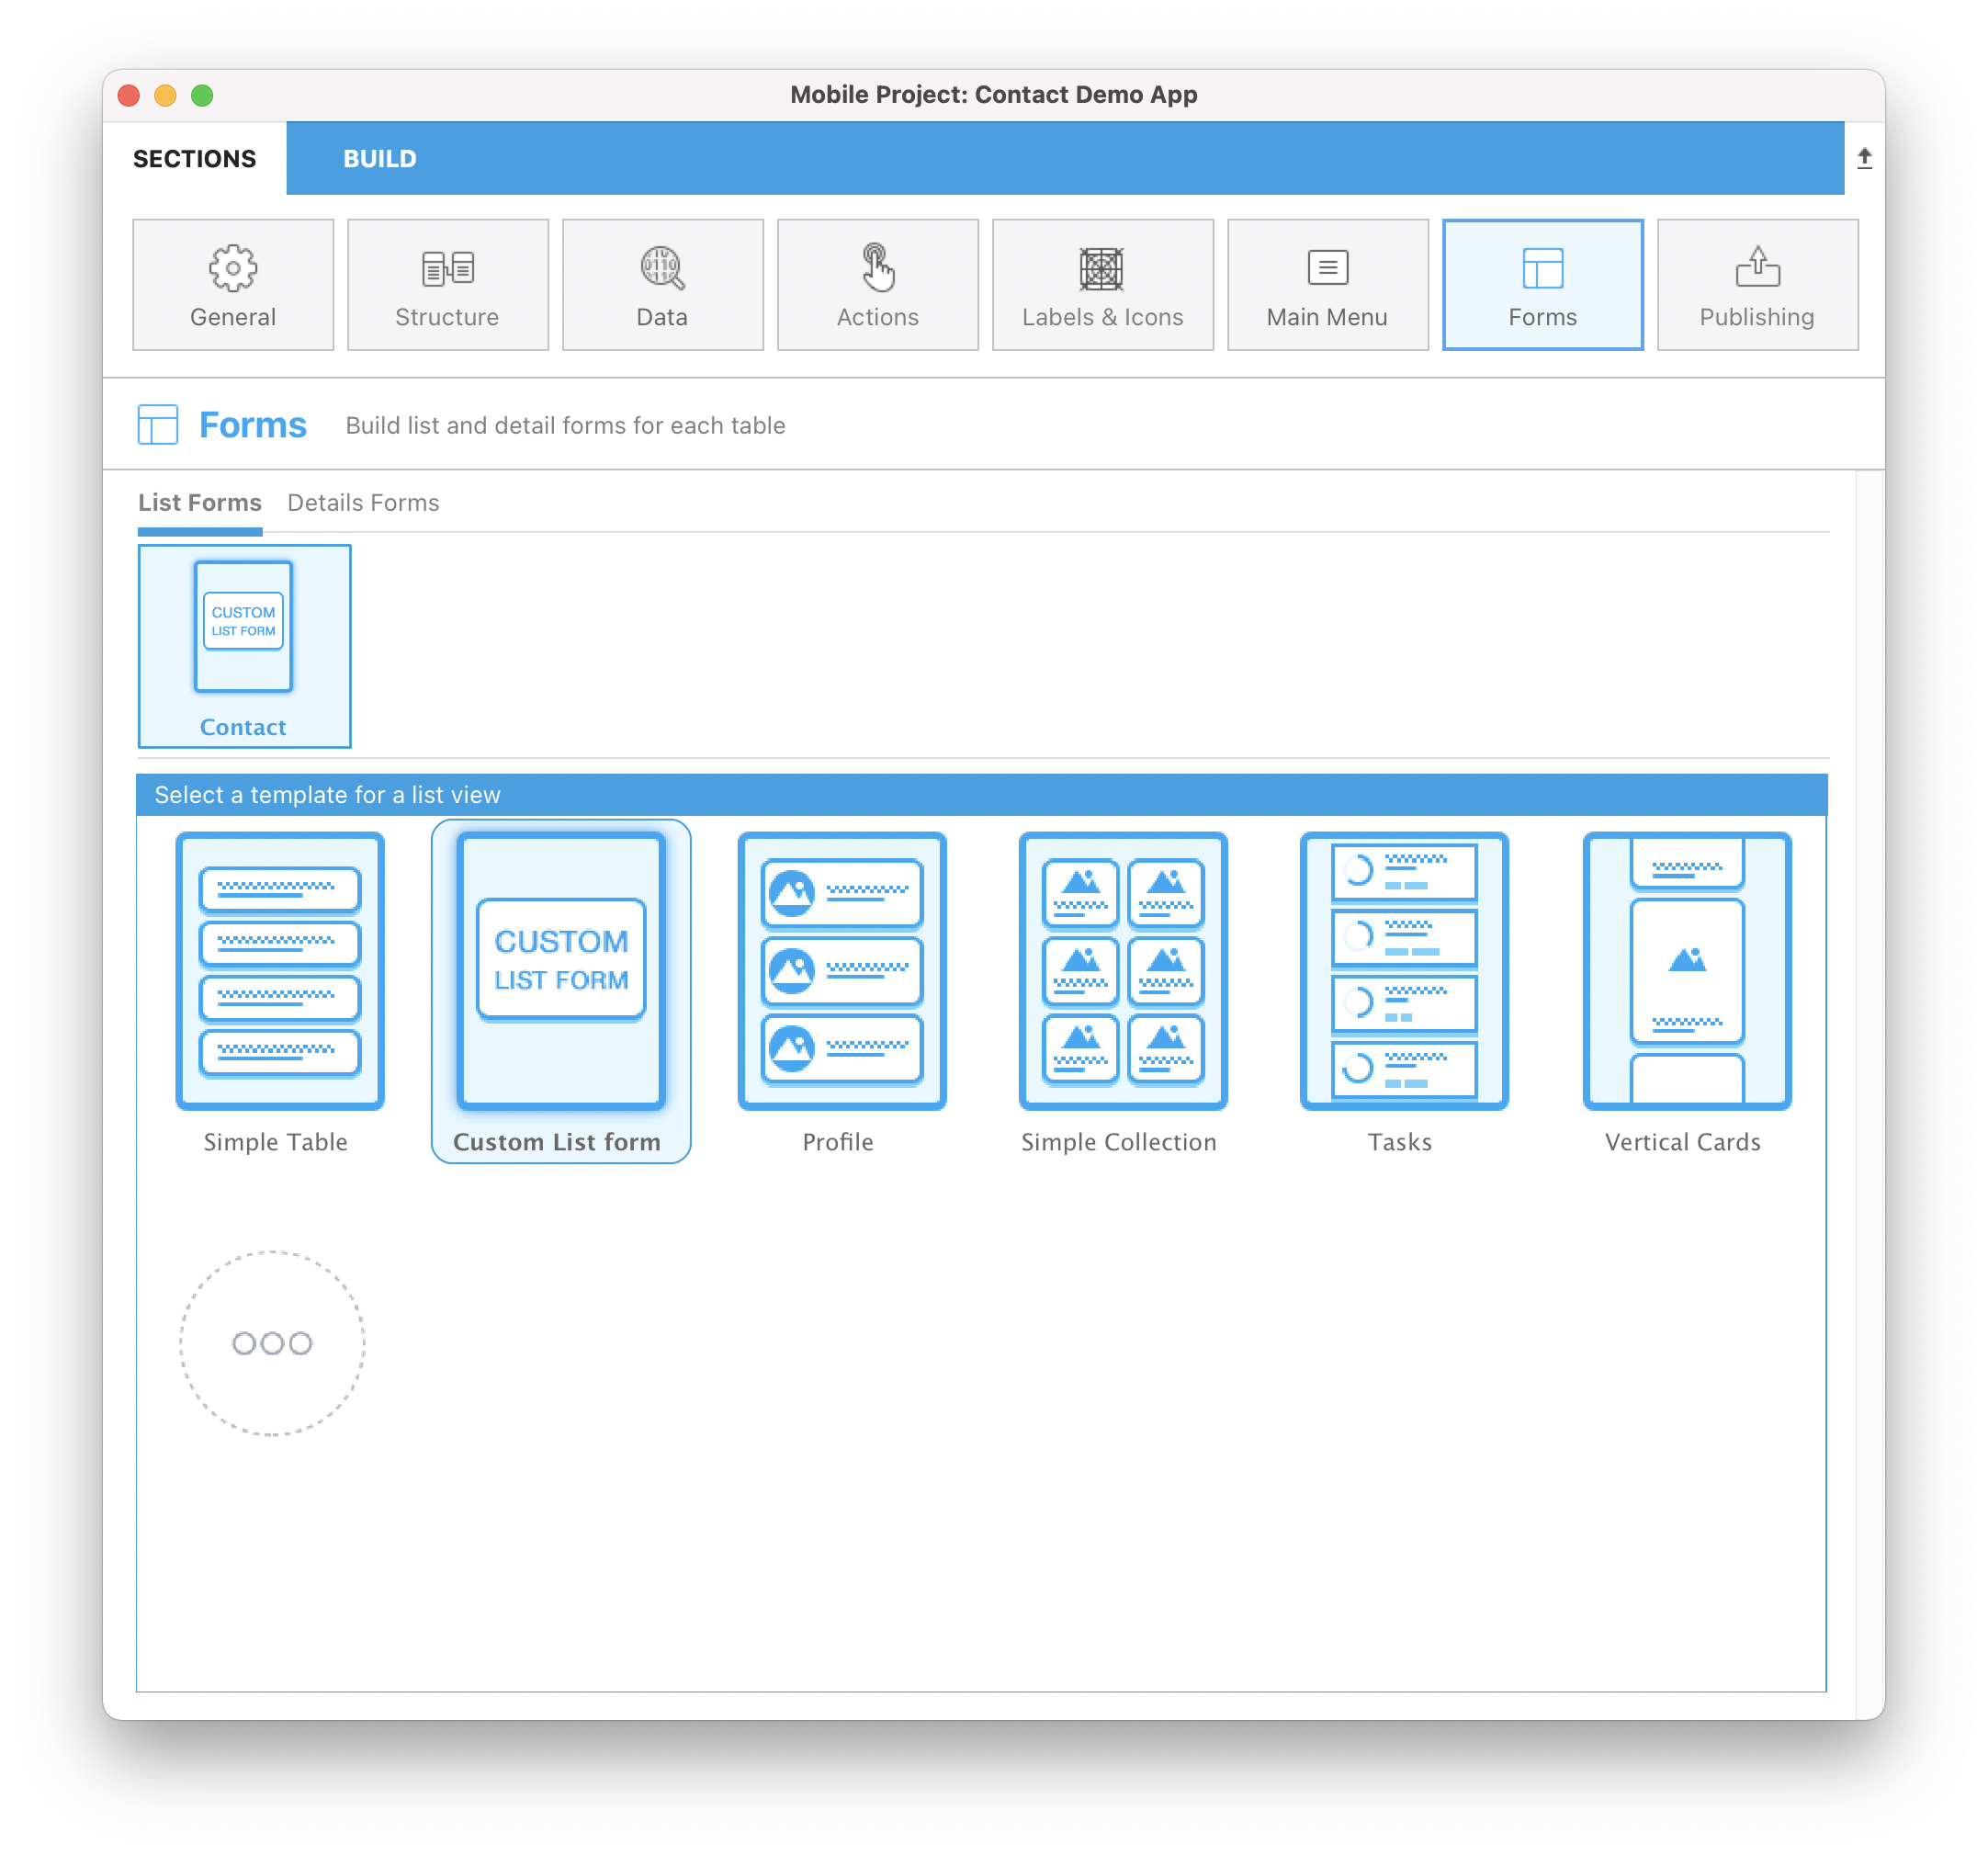
Finally, in the Forms section of the project editor, you'll see that your list form template has been successfully added to the list of available list form templates!

Now let's focus on the contents of the Custom List form folder.
テンプレートの構造
In this folder, you'll find:
- a layoutIconx2.png icon in 160x160px : it'll be displayed in the project editor when you select your template
- a manifest.json file : includes a basic description of the template
- a template.svg file : the visual representation of your template displayed when you define your list form content.
- Source folder : including the storyboard (graphical interface) and Swift file (code for the form)
- android folder that includes the layout.xml file (graphical interface) in app > src > main > res > layout folder
What are these files? What are they used for? How can you customize them?